This article contains affiliate links that may earn me a small commission at no extra cost to you. As an Amazon Associate, I earn from qualifying purchases. For more information, see our affiliate disclaimer.
The Pumalin National Park near the town of Chaiten in Chile is another excellent story of conservation in Patagonia. This huge area of Valdivian rainforest, waterfalls, volcanoes, glaciers and fjords was donated to the Chilean Government by the Tompkins family.
Doug Tompkins, the founder of The North Face, and his wife, Kristine, the former CEO of Patagonia, fell in love with the rugged lands of Patagonia and wanted to ensure they would remain protected – so they bought them.
In the biggest private land donation in history, they gave the land back to the government and Parque Nacional Pumalin Douglas Tompkins was formed.
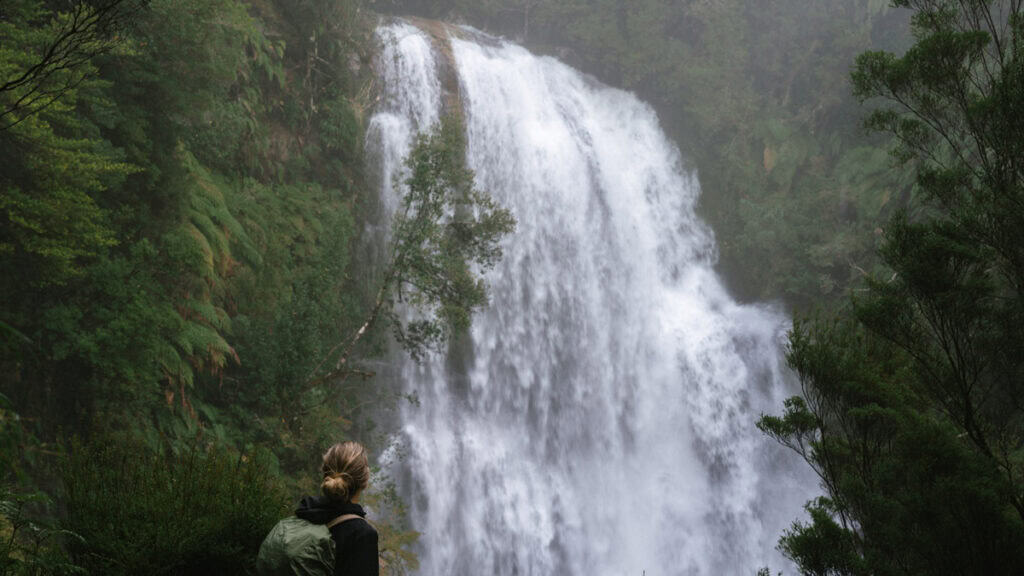
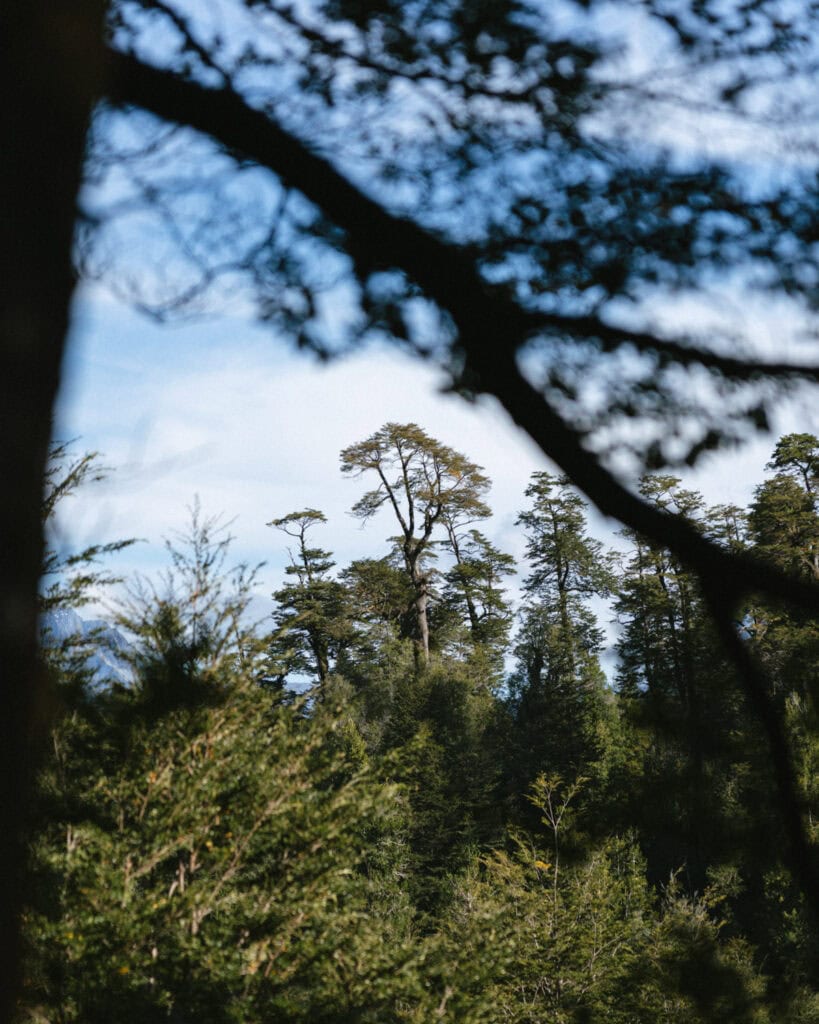
This is one of the most beautiful national parks we visited in all of Patagonia. The moist evergreen forest is like a fairytale, and you can hike to thundering waterfalls, up close to huge glaciers and even to the top of an active volcano.
Visiting the park can be a little confusing, though. With multiple sectors, almost a dozen different trails to choose from and a handful of campgrounds spanning more than 80 km along the Carrertera Austral, planning a visit isn’t as simple as turning up at the entrance.
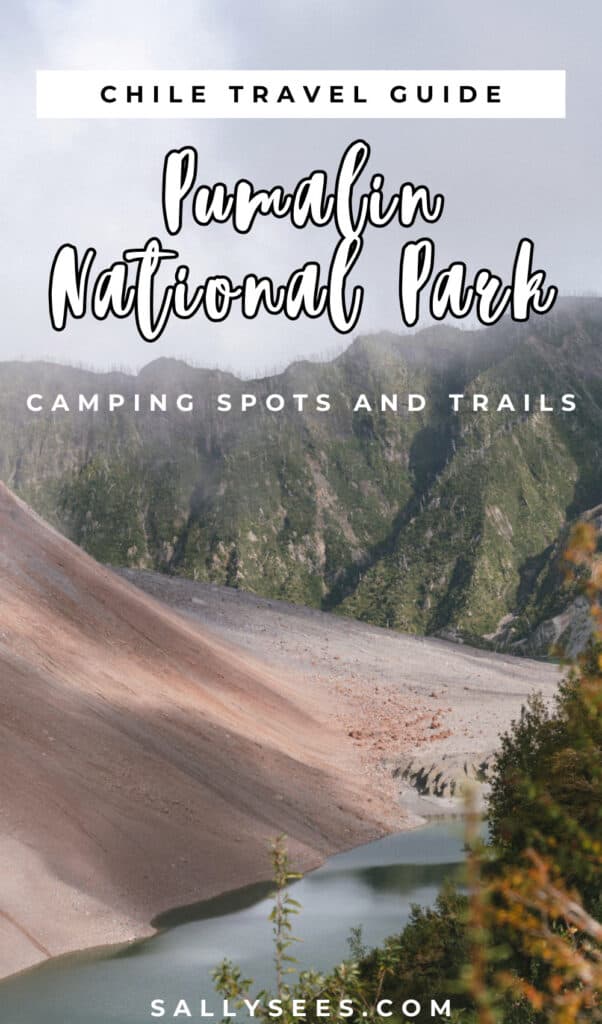
This VERY thorough guide shares everything you need to know about Pumalin National Park. Including a rundown of the orientation of the area, a clear overview of all the attractions and amenities, and information on getting to and around the park.
About Pumalin National Park
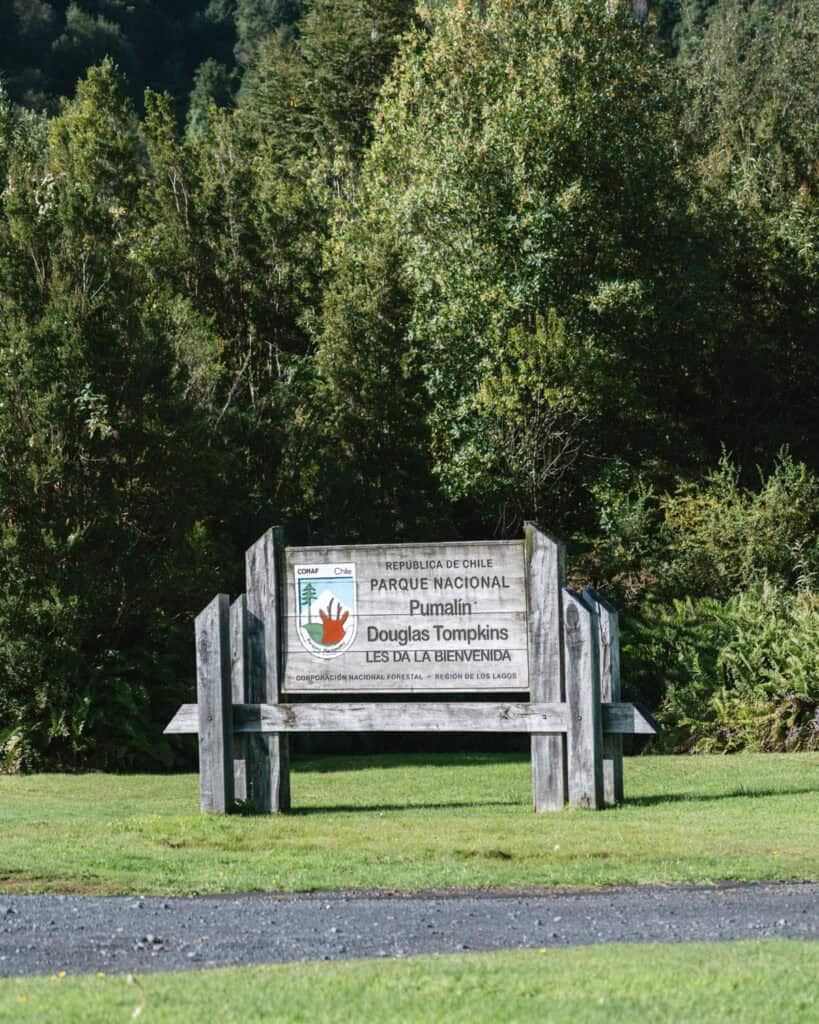
Officially called the Parque Nacional Pumalin Douglas Tompkins, this is a relatively new national park in Chile, created in 2018.
Its story, like that of many protected areas in Chile, is closely tied to the Tompkins family.
Douglas Tompkins, founder of The North Face, and his wife Kristine, former CEO of the outdoor brand Patagonia, began purchasing large tracts of wilderness in southern Chile in the 1990s. Their vision was simple: protect pristine rainforest, restore degraded lands, and eventually hand them back to the Chilean people.
For years, the Tompkins Conservation (now Rewilding Chile) managed Pumalin Park as a private reserve, building trails, campgrounds, and visitor infrastructure while rewilding the land. It became one of the most successful examples of private conservation in the world and was, for a time, the world’s largest private park.
After Douglas died unexpectedly in 2015, Kristine carried on their shared mission. In 2018, she donated Pumalin to the Chilean government, alongside other vast parcels of land in the area (such as Valle Chacabuco in nearby Patagonia National Park), marking the largest private land donation in history.
Today, Pumalin Douglas Tompkins National Park protects more than 994,000 acres (403,000 hectares) of temperate rainforest, fjords, waterfalls, volcanoes, glaciers and mountains.
It is home to ancient alerce trees, some more than 3,000 years old, active volcanoes, including the Volcan Chaiten that changed the neighbouring town of Chaiten forever, as well as species like pudú, the world’s smallest deer.
The amenities at Pumalin National Park are just beautiful. Both of the parks we visited that had been donated by the Tompkins family were pristine, with gorgeous lodges and ranger stations, well-kept facilities, clearly marked trails and a good range of campgrounds.
Layout and orientation
Before we dive into the details, I want to quickly explain a big-picture overview of the park.
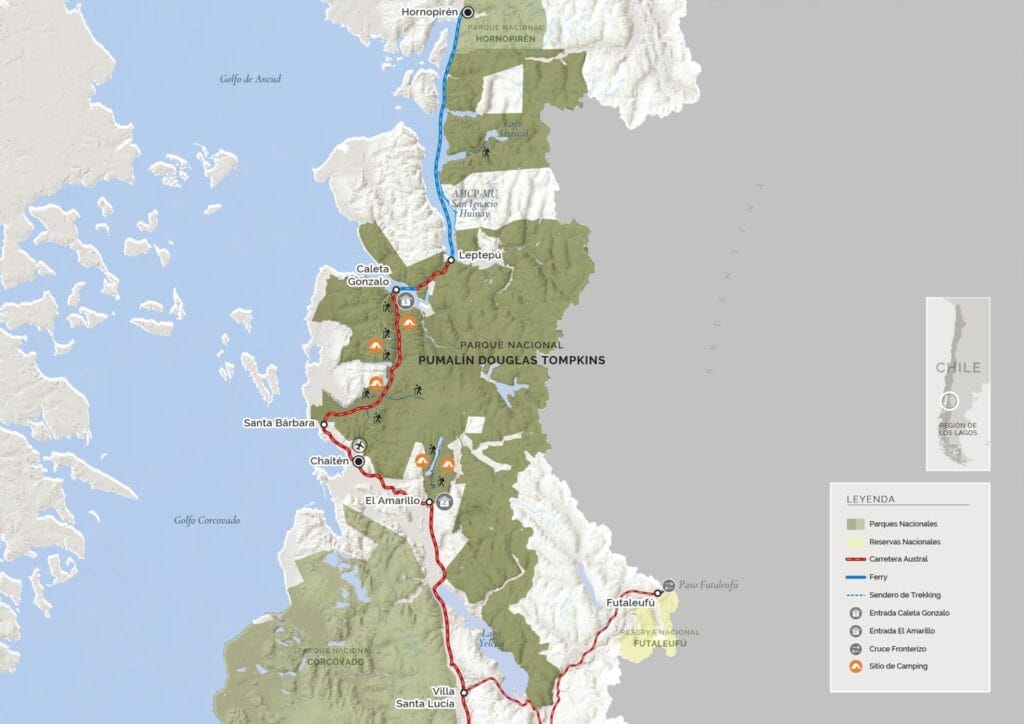
It’s divided into two main sections:
- ⬆️ Pumalin North: this is the area to the north of the port of Caleta Gonzalo. It’s primarily marine areas, with fjords, islands, and huge tracts of forest that are basically inaccessible by land (the highway ends!). Most visitors don’t see this part of the park.
- ⬇️ Pumalin South: the southern sector is the area spanning south from Caleta Gonzalo to the park’s southern boundary at El Amarillo. It’s then split into another two sectors, which people sometimes confusingly also call Pumalin North and Pumalin South.
The ‘north’ would be the area around Caleta Gonzalo. I don’t know if it has an official name, but for simplicity’s sake, I’m going to call it the Caleta Gonzalo Sector (people would know what you mean if you said this), and it includes any trail or campground between Caleta Gonzalo and Chaiten.
The ‘south south’ sector is officially called the El Amarillo Sector, and access to this sector is 25 km south of Chaiten. There are several trails and campgrounds here.
Pumalin South is where you’ll be spending basically all of your time. This sector of the park is big and long and split into multiple parts, without one central entrance.
From north to south, these are the landmarks you need to know:
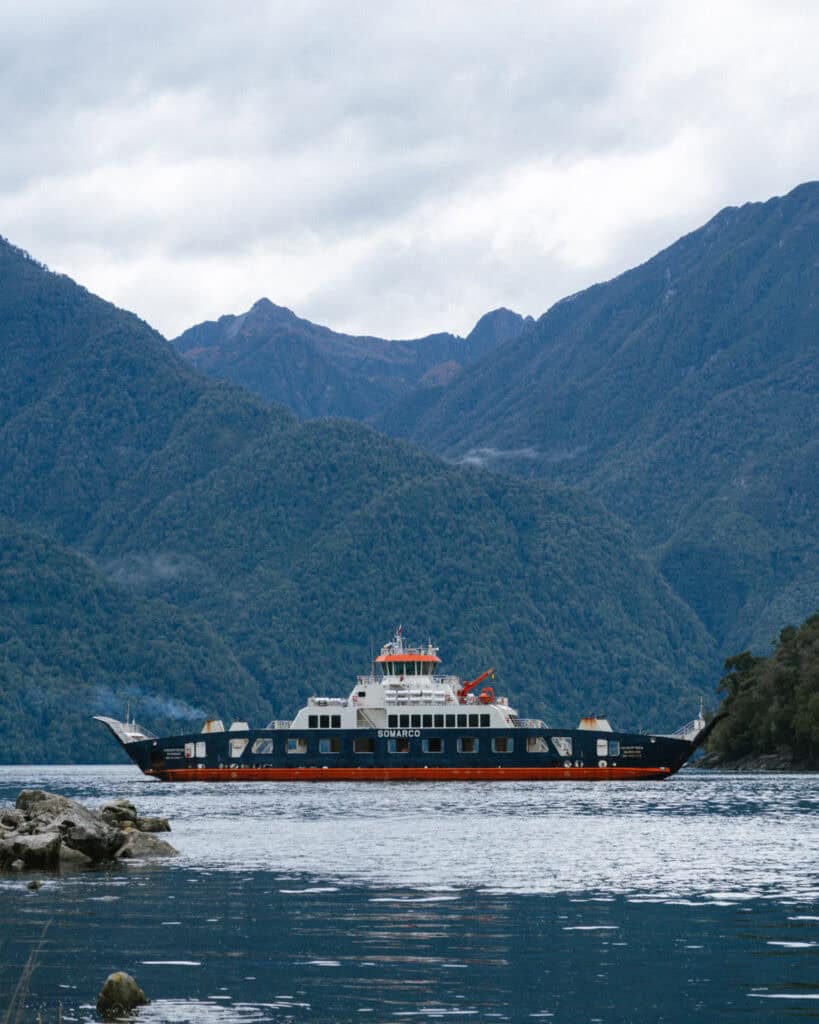
- 🌿 Caleta Gonzalo: a formal ‘entrance’ to the park. Entrance in quotations, as it’s free and you don’t need to buy a ticket, so you don’t really pass an entrance in the traditional sense, but this area is a central hive of activity. Caleta Gonzalo (Gonzalo Cove) is where the SOMARCO ferry from Hornopiren docks, and if you are entering the park from the north via car or bus, this is most likely how you will arrive (more details about the ferry in my Chaiten guide). This area has a park office, a campground, a lodge with an on-site cafeteria/restaurant and a few trailheads.
- 🌿 Caleta Gonzalo Sector trails and campgrounds: between Caleta Gonzalo and the town of Chaiten, you’ll find the majority of trailheads and campgrounds. Most have parking lots and access directly from the highway.
- 🌿 Chaiten town: the town of Chaiten sits just outside the park to the west, but is a convenient sandwich between the Caleta Gonzalo area and the southern sector, El Amarillo. If you arrive directly at Chaiten (via ferry from Puerto Montt or Chiloe, or by bus from the south), you don’t need to ‘enter’ the park at Caleta Gonzalo, you can simply go straight to your desired trails and/or campgrounds from Chaiten.
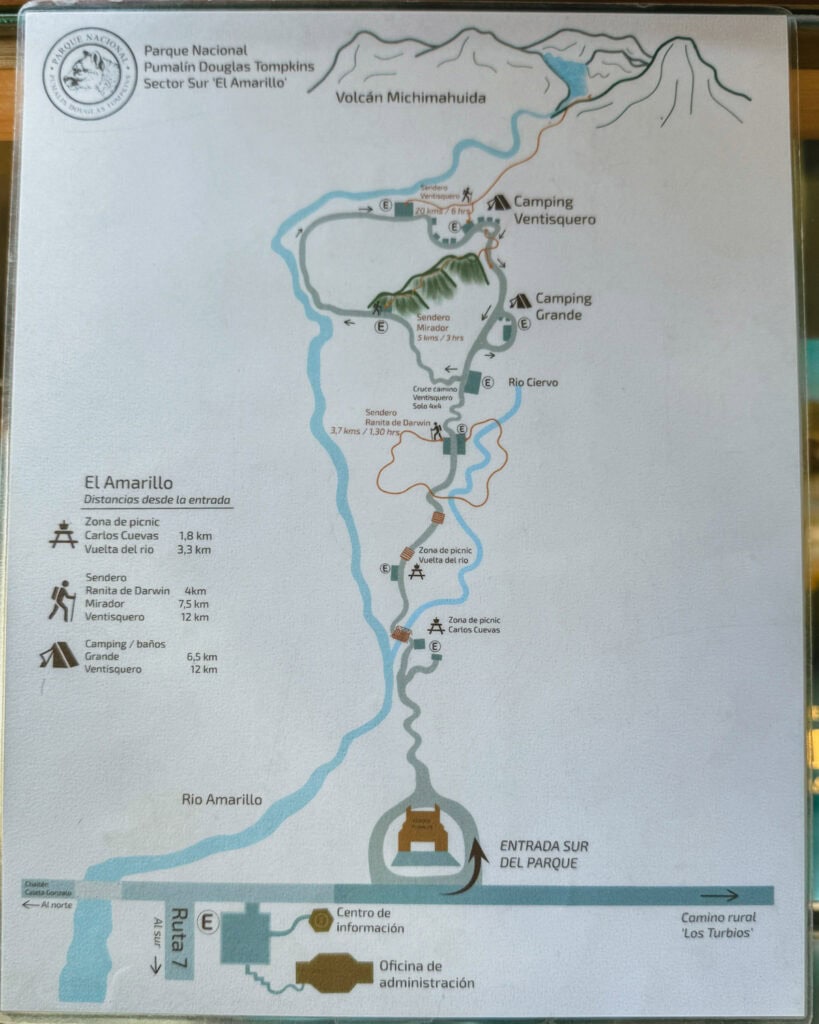
- 🌿 El Amarillo Sector: 25 km south of Chaiten is the El Amarillo Sector of the park and the small settlement of the same name. Just off the highway is the ranger station and official ‘entrance’, which is another mini-hub of activity. HOWEVER, the trails and campgrounds in this sector are not located at this point. They are another 6 – 12 km deeper into the park, driving down an access road.
Entrance fees and opening hours
There are no entrance fees to any part of Pumalin National Park. Visiting for the day to hike any of the trails is FREE!
The only thing you will pay for is if you want to camp overnight in the park’s campgrounds. Besides a few exceptions that I mention in the camping section below, the price for this is 6,000 CLP per person, per night. Payment is made directly with the rangers at the sites, in cash.
The park’s official opening hours are Monday – Sunday from 8:30 am – 5:30 pm.
Most of the trails have an earlier closing time, between 2:00 pm – 4:00 pm, depending on the length of the trail, to make sure people are finished hiking and out of the park by the time it closes.
To be honest, the access hours only really apply to the El Amarillo Sector, where there is an ‘entrance’. You must go into the visitor centre to register your visit, and sign out again when you leave.
Be aware that they close for lunch for 1 hour from 1:00 pm – 2:00 pm at El Amarillo. If you arrive at this time (like we did 🙃), you cannot register and proceed into the park, which is very frustrating given the piece of paper that you write on is mere steps away from the entrance and really did not require a staff member to supervise, but anyway!
The other trails in the Caleta Gonzalo Sector technically remain open all the time as they are spread out and not staffed. Possibly with the exception of Volcan Chaiten, which is the most popular trail and most frequently patrolled by rangers who, I imagine, would stop people from starting the hike too late in the day.
When to visit
The trails in the Pumalin National Park are open year-round, but the campgrounds are not.
The campgrounds are only open during the summer months from around December/January – March/April. The exact dates seem to vary each year, and vary by campsite.
The rangers may close trails or campsites periodically in case of dangerous weather or damage.
The best time to visit the area for hopefully nice weather is during the summer months, from around December – March.
Ordinarily, I would say to visit Patagonia between October – April, but this area is much wetter than other parts of the Carretera Austral, and the peak summer months of December – March give you the best chance of dry weather.
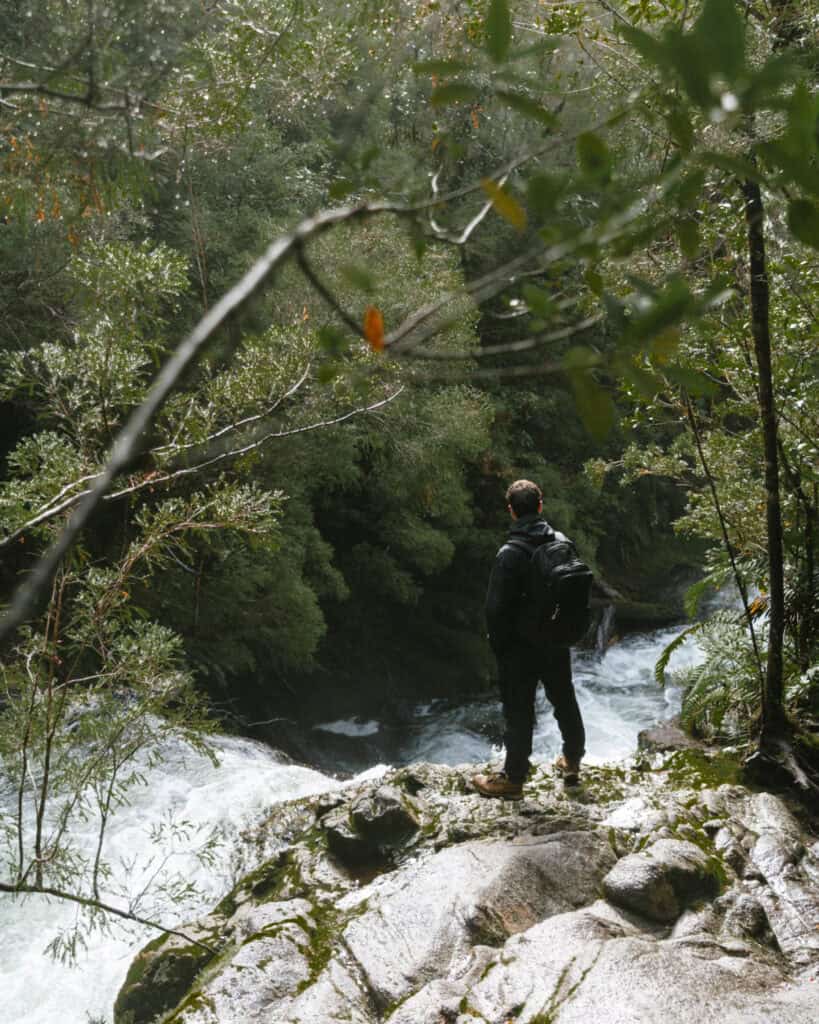
The park receives over 4,000 mm of rain per year, so no matter when you visit, you need to be prepared for mud and rain. They don’t call it a rainforest for nothing!
Getting to and around Pumalin National Park
Getting to Chaiten
I don’t really want to answer how to get to the park here, but rather how to travel around inside it.
There is no one place to ‘get’. Your more likely destination is the town of Chaiten, where most people will stay or transit.
You can get to Chaiten via land from the south (bus, car) or via ferries from the north.
Either the SOMARCO ferry from Hornopiren, which is the natural continuation of the Carretera Austral if you are driving or taking the bus. Alternatively, you can get a ferry directly to Chaiten from Puerto Montt or Chiloe Island (with or without a vehicle).
I’ve got more specific details about transport in my Chaiten guide.
Getting around the park
In terms of getting around to all the different areas of the park, here’s where it gets a bit tricky.
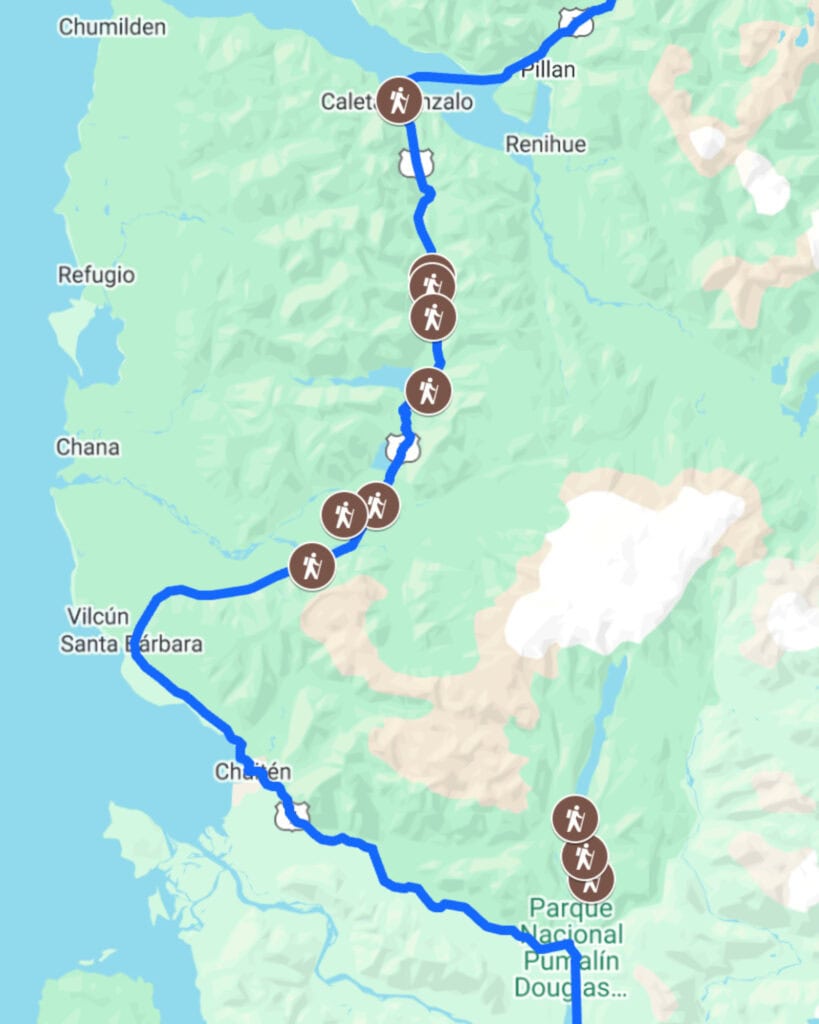
As you can already tell from the map and orientation of the park, things are spread out. The trailheads and campgrounds span more than 80 km along the Carretera Austral from Caleta Gonzalo in the north to El Amarillo in the south.
With a car or bicycle
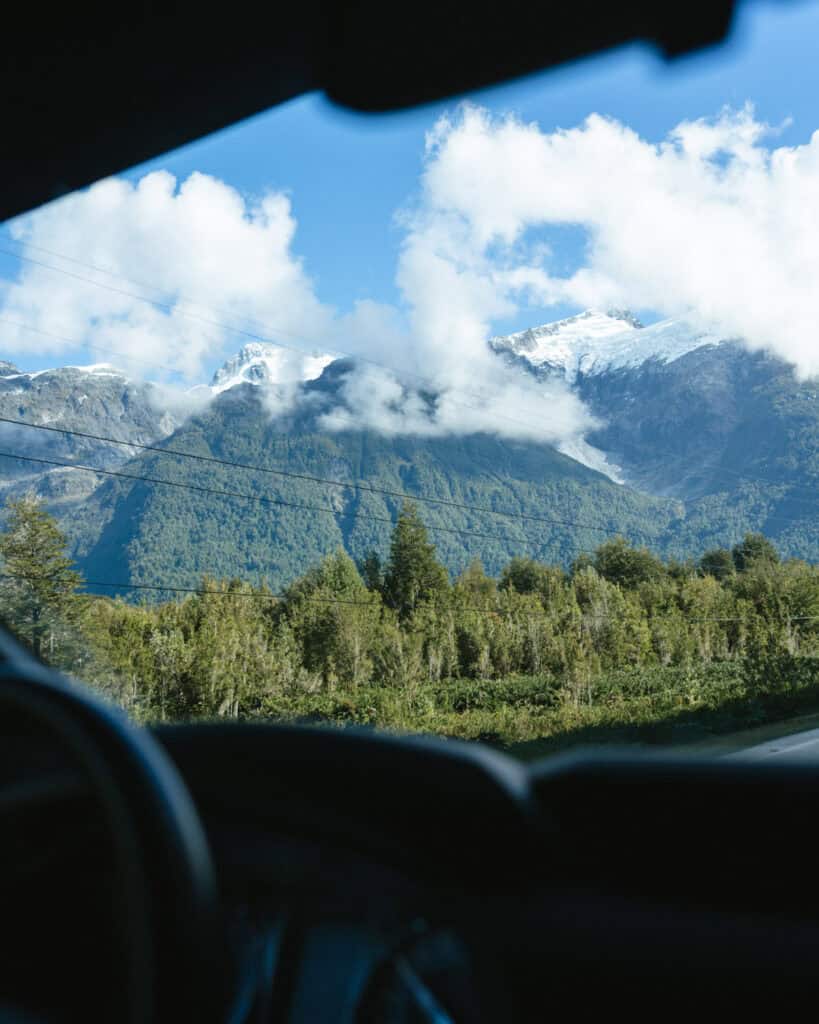
If you have a car or a bicycle, you’re sorted.
If you’re also camping, then you can plan a linear route and group your hikes accordingly to different campsites.
If you’d prefer to base yourself in the lodge or in Chaiten, then you can just day trip to the trails you want to hike – easy!
Via bus and hitchhiking
If you don’t have a vehicle, it can be a bit tricky.
The exact transport strategy you come up with will differ greatly depending on whether you plan to camp and carry all your equipment to different areas of the park, or base yourself in Chaiten and go out each day into the park.
There are long-distance buses heading north and south out of Chaiten along the highway most days, and you can use those as a means to get to some of the trailheads.
The tourist information office in Chaiten is a good place to ask about routes and timetables. They are lovely and very helpful.
The hikes in the northern sector of the park mostly start right from the highway, so this is quite straightforward. You can take a bus towards Caleta Gonzalo (I think there is one or two departures each morning), or use a Hornopiren or Puerto Montt service that will board the ferry in Caleta Gonzalo.
The problem is: a) getting back and knowing if or when a bus is going to pass, and b) having to coordinate transport between multiple trailheads, as you can easily fit more than one hike into a day, IF you can get yourself between them.
You can substitute the bus with hitchhiking, which is generally safe and common in this area.
The Amarillo Sector in the south can be reached via any bus heading south (Futalefu, Puyuhuapi, Coyhaique – you should find at least one of these routes departing Chaiten daily). Tell the driver you’re going to the park and they’ll stop at the junction.
The visitor centre at the El Amarillo Sector is right on the highway. HOWEVER, it’s still another 6 – 12 km walk down an access road to reach any of the trails or campsites in this sector of the park. You’ll really need to hitch a ride here to save yourself a long walk on the road.
Via tour or shuttle
If you don’t have a vehicle but don’t want to muck around with buses that may or may not arrive or waste time hitchhiking, you can join a tour company from Chaiten and take guided tours to different sectors of the park. This is more costly but will remove any stress.
Green Patagonia and Chaitur are both well-known and well-rated options.
I have also read that some of the hostels and campgrounds in town, such as Trekanpangui, offer shuttles to different parts of the park. I can’t confirm any details, but ask around in town when you arrive.
It’s also worth asking the tour companies if they would allow you to use their transport as a shuttle, rather than a guided tour, if you want to explore independently.
🚌 These directions assume you’re already in Chaiten. For info about getting to Chaiten, check out our travel guide
Amenities at Pumalin National Park
There is no one central area in the park that houses all of the amenities.
There are visitor information centres/ranger stations at Caleta Gonzalo and El Amarillo, where you can get information, maps, etc. Both have bathrooms available.
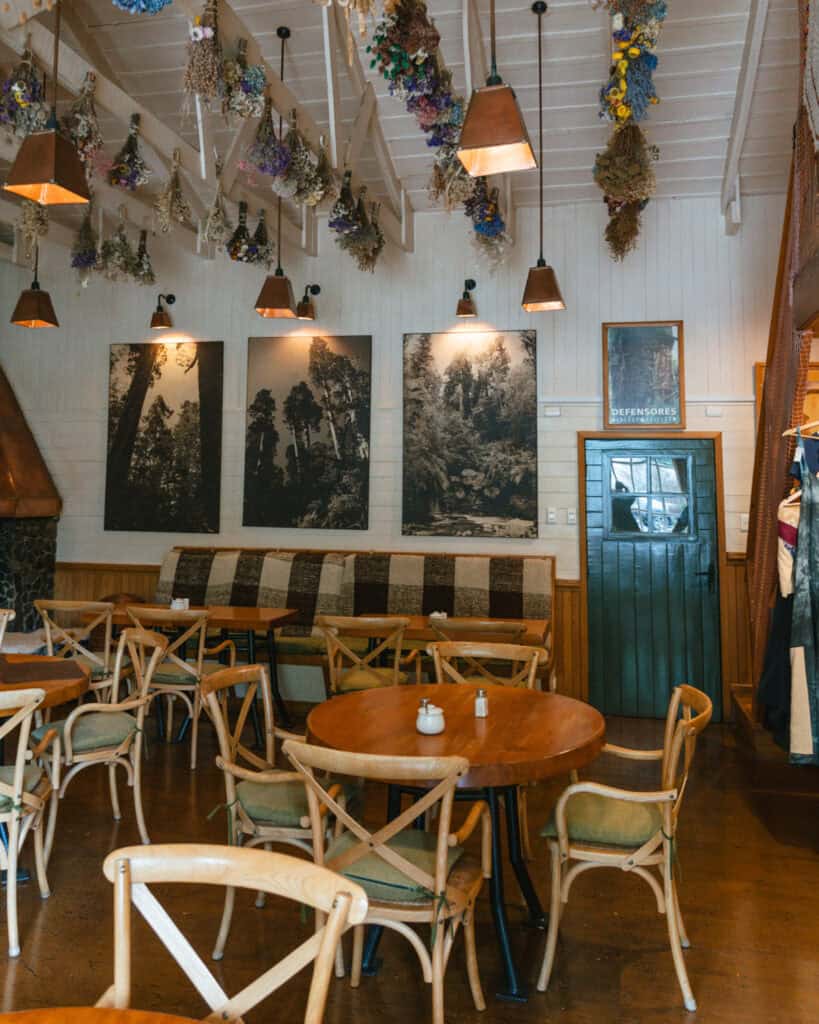
At Caleta Gonzalo, you will also find the park’s only lodge accommodation (more on that below) as well as a restaurant/cafeteria, Cafe Caleta Gonzalo. It primarily serves guests of the lodge, but it is also open to the public. It’s expensive, but very warm and cosy inside.
There are seven campgrounds in the park, which I detail below. All have toilets.
Many of the trailheads start at the campgrounds, so even if you’re not staying there, you’ll have a toilet available. There are also toilets at the Volcan Chaiten trailhead, which doesn’t have a campground.
Camping and accommodation in Parque Nacional Pumalin
The park is spread along a long, linear north-south route on the Carrertera Austral highway. You might choose to ‘camp hop’ and stay at multiple campgrounds throughout your time in the park, in line with the trails you are planning to hike.
Alternatively, you might choose to make a base at one or two of the sites, at the lodge, or outside the park in Chaiten, and just do day trips to the different trails in the park.
It depends on whether you have a car or not, and how keen you are on hitchhiking/busing with all your camping gear.
Accommodation
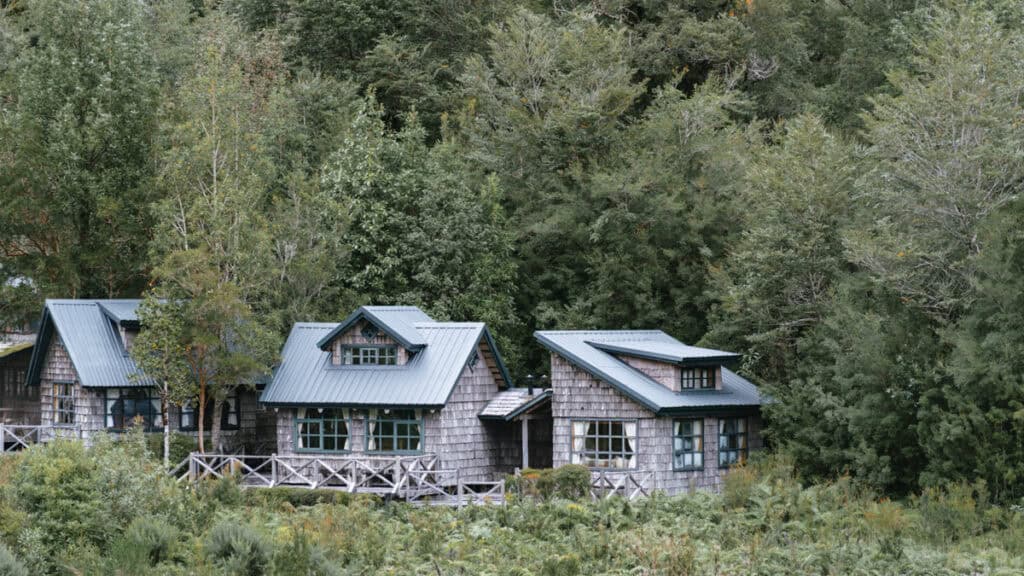
There is only one official accommodation option inside the boundaries of Pumalin National Park, the Lodge Caleta Gonzalo.
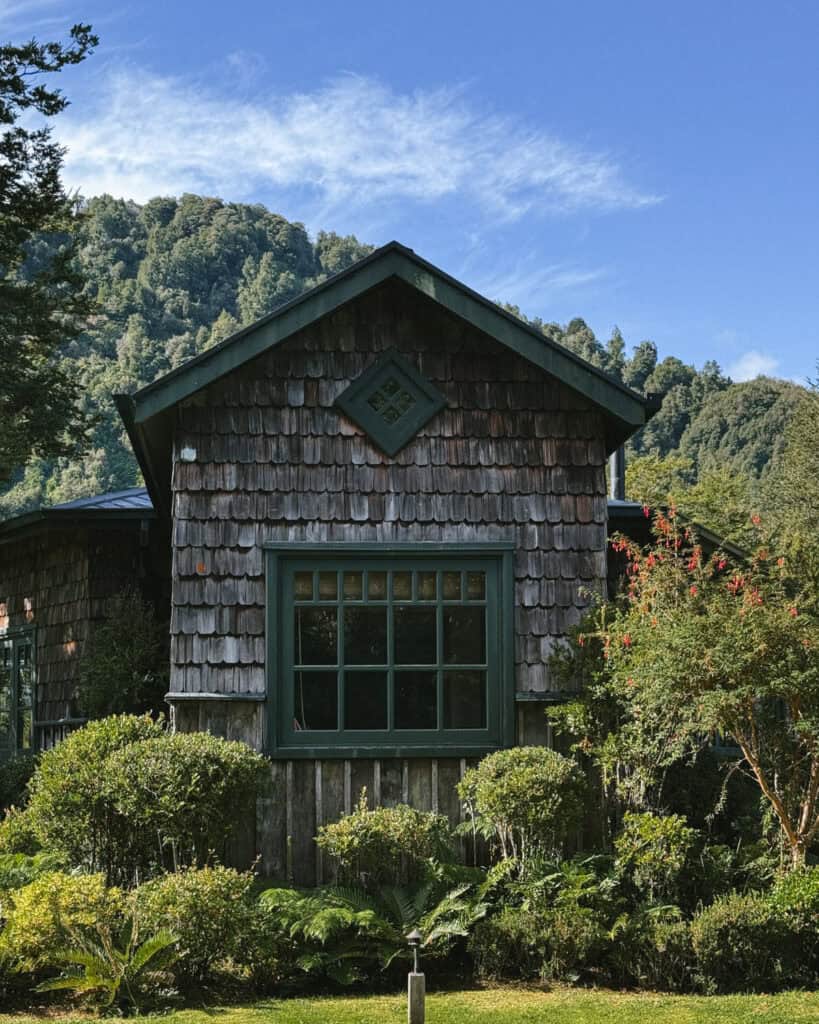
Situated right at the port at Caleta Gonzalo, this gorgeous wooden lodge has various cabins scattered around the forest. It’s a cosy rustic vibe in the typical Tompkins style that is carried throughout the park, with wooden shingles. Think wood fires, handmade wooden furniture and ecological decor with pictures of plants and animals.
As of 2026, the lodge is opening a handful of domes. They are a cheaper alternative to the cabins, but more luxurious and well-equipped than camping.
There is a restaurant on-site, and they offer guided tours.
Otherwise, Chaiten town is smack bang in the middle of the park, just outside its official boundaries, and has a range of accommodations for all budgets. Check out my recommendations for hostels and hotels in my Chaiten guide.
Camping
All the campsites, with the exception of one, are managed by CONAF.
They are 6,000 CLP per person, per night, and it is a first-come-first-served arrangement. Some of the campgrounds have ‘private’ sites where you get to have your own little shelter. These are 16,000 CLP for the site.
The rangers come by and collect payment either in the late afternoon/evening or first thing in the morning. A lot of the time, you won’t end up paying because no one is there to collect. It’s a weird system.
The campsites are only open during the peak season, which I think is around December/January – March/April. Dates seem to change each year, and there is not a lot of helpful information online. It also differs per campsite, and the more distant ones in the El Amarillo Sector tend to have a shorter season, given the weather and conditions in the area.
The Ruta de los Parques website and the CONAF website would be the best places to look for opening dates, but don’t rely on them being updated.
When we visited in late April, the campgrounds were already closed for the season, with metal chains blocking the entrance. Unfortunately, we were not able to camp at any of the sites, but we visited many of them to access the trails.
I would never tell you to break the rules, however, what I will say is that many people camp here year-round, and nobody seems to mind.
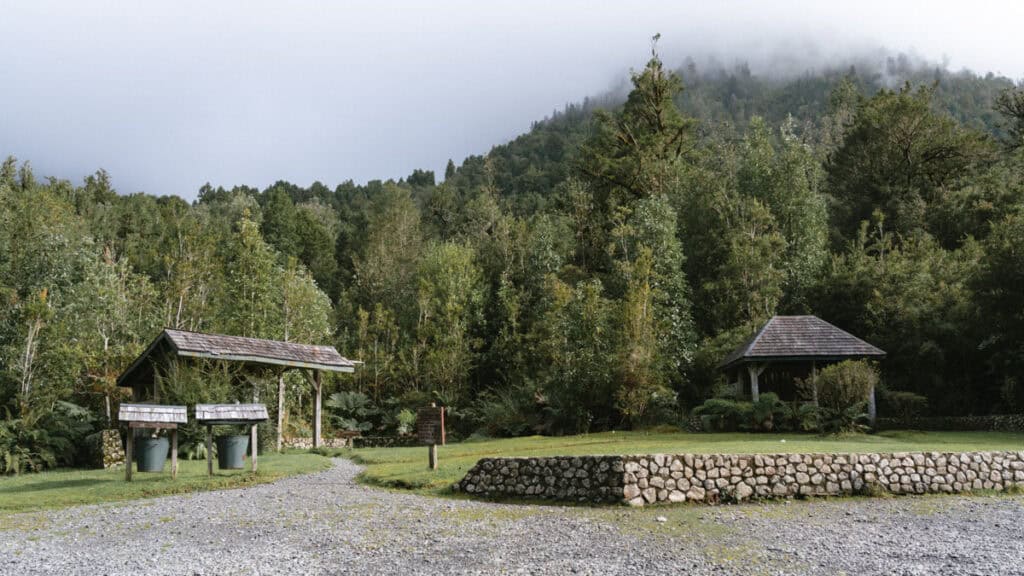
All the sites have similar amenities – flushing toilets, sometimes cold showers, sometimes shelters or covered picnic areas to cook and eat, and potable water taps. They’re basic but natural and very beautiful.
Most sites are best-suited to tents, but campers and vans can usually park in the car park, which in most cases isn’t too far away from the amenities.
You should plan to have no phone service at any of the sites. They don’t have lights or electricity either.
There are five campsites in the northern, Caleta Gonzalo Sector and two campsites in the southern, El Amarillo Sector. The campsites from north to south…

Camping Rio Gonzalez
📍 Google Maps pin | ⛺️ iOverlander listing
This is the only campground that is not managed by CONAF. It is privately managed by the same owners as the lodge.
The prices here are much more than the other campgrounds (14,000 – 18,000 CLP per person per night, depending on the season), and you can book your stay online in advance.
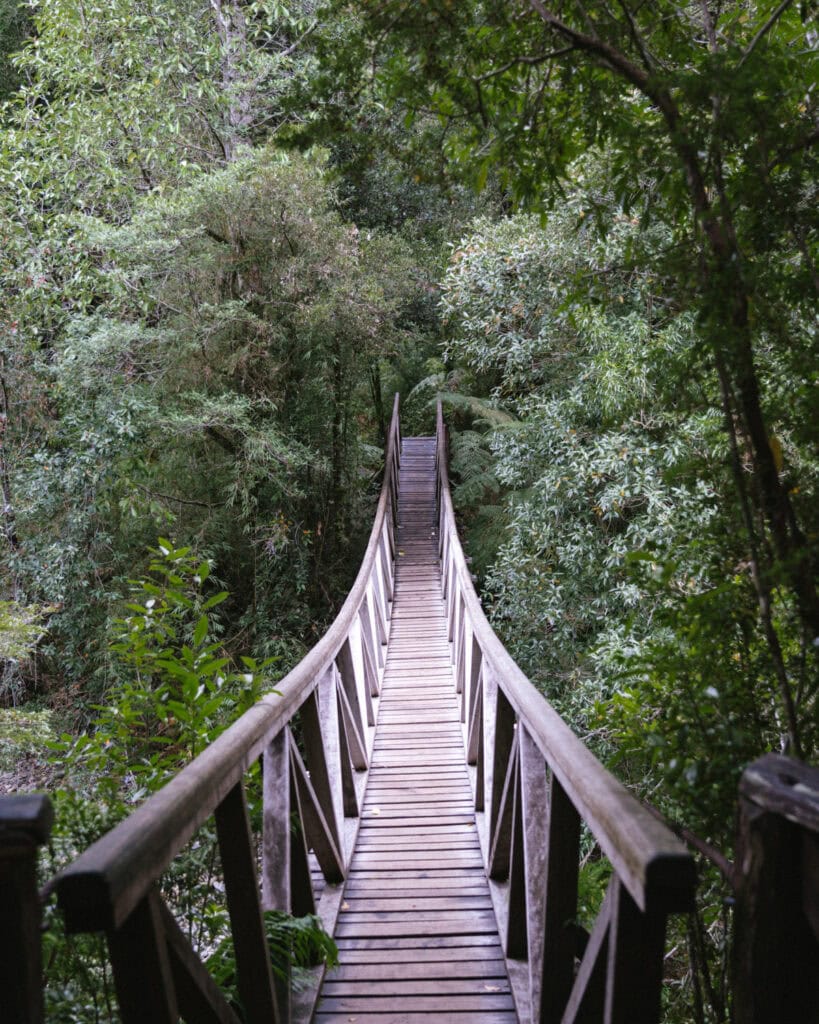
This site is really only suitable for tents. You need to walk a few hundred metres through the forest and over a suspension bridge to reach the camping area.
If you’re in a vehicle, you’re probably better off parking for free in the ferry car park.
The site has easy access to the new Sendero Mirador Caleta Gonzalo, which has replaced the Sendero Cascada that permanently closed in 2024.
Camping Cascadas Escondidos
📍 Google Maps pin | ⛺️ iOverlander listing
This campground is also the trailhead for one of the best hikes in the park, Sendero Cascadas Escondidas.
There are a few private sites where you get your own shelter, but otherwise, there is a communal grass area for tents, and vehicles can park in the car park, which is definitely ‘in’ the campground and close to the amenities.
Camping Lago Negro
📍 Google Maps pin | ⛺️ iOverlander listing
This campsite is right on the highway, so it’s easily accessible whether you’re on the bus, hitchhiking, with a car or bike.
The name is a little misleading, it’s not exactly on the lake, but the campground also acts as the trailhead for a short, but lovely walk to Lago Negro.
There are shelters where you can set up tents, and if you’re camping in your vehicle, you are still ‘in’ the campground. The car park is not as separate as some of the other sites.
Camping Lago Blanco
📍 Google Maps pin | ⛺️ iOverlander listing
This campsite is right on the highway, so it’s easily accessible whether you’re on the bus, hitchhiking, with a car or bike.
It’s a gorgeous site overlooking the lake, Lago Blanco. Tent sites have a premium position, with sheltered areas lined up right along the shoreline.
Some are private, which you pay a slight premium for (16,000 CLP total) vs the communal areas (6,000 CLP pp).
Vehicles must park in the car park, a couple of hundred metres back from the lakeshore.
There aren’t any trailheads at or near this site.
Camping Volcan
📍 Google Maps pin | ⛺️ iOverlander listing
This campsite is a couple of kilometres off the Carretera Austral, so it’s a bit inconvenient for those who don’t have a vehicle or bike.
If you are travelling in a van, camper or motorhome, this is one of the best sites. It’s large and you are able to drive into a dedicated spot, rather than staying in the car park. The views of the volcano and the western face of the Michimahuida Glacier are stunning.
There are ‘communal’ sites for the standard 6,000 CLP pp, or you can choose a ‘private’ site for 16,000 CLP total. These sites have your own private shelter hut with a table, a bin and a water tap. Bathrooms are shared by everyone.
There is a short interpretative trail around the site.
If you’ve got a vehicle, you’re close to the Sendero Volcan Chaiten, as well as the Sendero Volcán Michimahuida. If you’re on foot, both of these trails are a fair few kilometres along the highway.
Camping Grande
📍 Google Maps pin | ⛺️ iOverlander listing
Camping Grande is located in the El Amarillo Sector of the park, approximately 6.5 km from the main entrance to this sector along the access road.
It is the only campground here that is accessible by 2-wheel drive vehicles.
There are lots of tent sites on the grass, but campers and vans must remain in the gravel car park area and not park on the grass.
This campground has access to the Sendero Mirador Glaciar Michinmahuida, the shorter trail to the lookout of the glacier. You can also access the longer trail that leads to the face of the glacier, Sendero Ventisquero, from this campground if you don’t have a 4×4 vehicle.
You’ve also got easy access to the Sendero Ranita de Darwin, either by driving or walking to the official trailhead, it is just over 1.5 km further south on the road.
Camping El Ventisquero – 4×4 ACCESS ONLY
📍 Google Maps pin | ⛺️ iOverlander listing
This campground is the most remote of them all, located in the El Amarillo Sector of the park. You can only get here with a 4×4 vehicle, and from all accounts, they really do mean that!
The photos and reviews on this site look absolutely incredible. It is a gorgeous campground with epic views of the glacier, and you are truly in the middle of nowhere. We so wish we could have stayed here, as we did have a 4×4 camper, but alas, we were too late in the season.
They offer standard sites for the usual price of 6,000 CLP pp, but they also offer ‘private sites’ which come with your own little sheltered hut area, for 16,000 CLP total.
If you have a 4×4 and the site is open, it is absolutely worth staying here as it is the closest site to the Ventisquero Trail that gets right up close to the Amarillo Glacier (aka the Michinmahuida Glacier).
This site is prone to closures more frequently than any other site, given its quite deep into the park, at a higher elevation and with rough roads to get there that can wash out after a lot of rain.
⚠️ There used to be two other campsites in the El Amarillo Sector of the park, however these are now closed and used ONLY as picnic areas. They are Zona de Picnic Carlos Cuevas and Zona de Picnic Vuelta del Rio, both are before you reach Camping Grande, closer to the entrance to this sector.
Trails in Parque Nacional Pumalin
🥾 TOP TRAILS
There are 11 trails in the Pumalin National Park of varying lengths. If you’re short on time and/or energy and don’t want to tackle ALL of them, these are the ones I’d recommend to give you a taste of all the different landscapes in the park:
- 🌋 Sendero Volcan Chaiten
- 💦 Sendero Cascadas Escondidas
- 🌳 Sendero los Alerces
- 🧊 Sendero Ventisquero *if you have a 4×4 vehicle
- 🐸 Sendero Ranita de Darwin
Caleta Gonzalo Sector
There are 8 trails in this sector of the park, between Caleta Gonzalo and Chaiten. I’ve listed the trails below from north to south.
They all have their own independent trailheads at different points along the Carretera Austral, some start from campgrounds, others have dedicated car parks or pull-outs at the trailhead.
Sendero Mirador Caleta Gonzalo (REPLACEMENT for Sendero Cascada Caleta Gonzalo)
- 🥾 Trail type: out-and-back
- 📍 Trailhead location: Google Maps
- 🗺️ Trail map: N/A
- 📏 Distance: 3 km (1.9 mi)
- 📈 Elevation gain: unknown
- 🥵 Difficulty: easy
- ⏳ Duration: 1 hour
This one is a little confusing.
There was a famous trail called Sendero Cascada Caleta Gonzalo that closed in 2024, as it had lots of wooden bridges and ladders that were in disrepair, making the hike very dangerous.
They’ve replaced it with a new trail called Sendero Mirador Caleta Gonzalo, but there’s not a lot of info about it online.
I think it starts from the same trailhead, just branching off in a different direction, so people think they’re doing the old hike, when in reality it’s a new trail.
This trail is shorter and, as far as I know, doesn’t go to the waterfall that the old trail did.
This trail wasn’t open when we visited, so I can’t share too many details, unfortunately. I’d love to know if you hike it!
Sendero Laguna Tronador
- 🥾 Trail type: out-and-back
- 📍 Trailhead location: Google Maps
- 🗺️ Trail map: AllTrails
- 📏 Distance: 4.3 km (2.7 mi)
- 📈 Elevation gain: 451 m (1,480 ft)
- 🥵 Difficulty: hard
- ⏳ Duration: 2 – 3 hours
This trail isn’t super long, but it looks quite hard with a very steep ascent. You lost me at ascent, and we didn’t hike this trail.
Most of the incline is on slippery, wooden stairs before a sharp descent down to the shores of the lake. On a nice day, you can swim in the lake from a little beach.
Sendero los Alerces ⭐️
- 🥾 Trail type: out-and-back with partial loop
- 📍 Trailhead location: Google Maps
- 🗺️ Trail map: AllTrails
- 📏 Distance: 1.3 km (0.8 mi)
- 📈 Elevation gain: 25 m (82 ft)
- 🥵 Difficulty: easy
- ⏳ Duration: < 30 minutes
This trail is short, but it’s not to be missed.
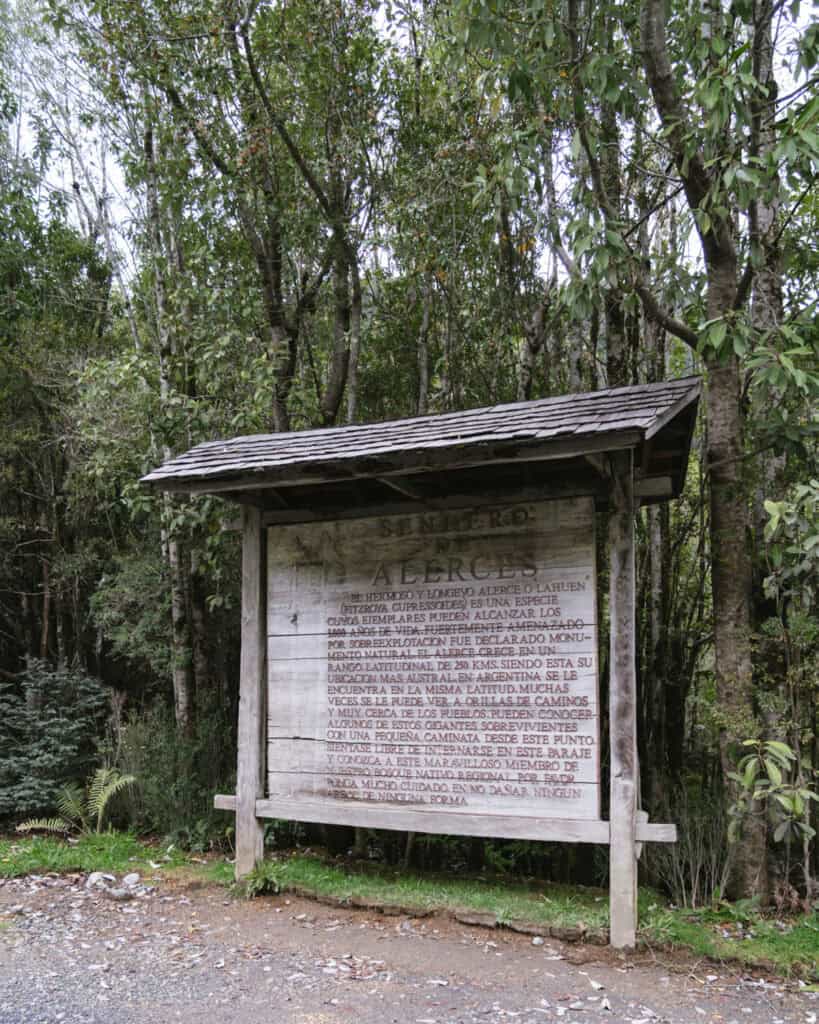
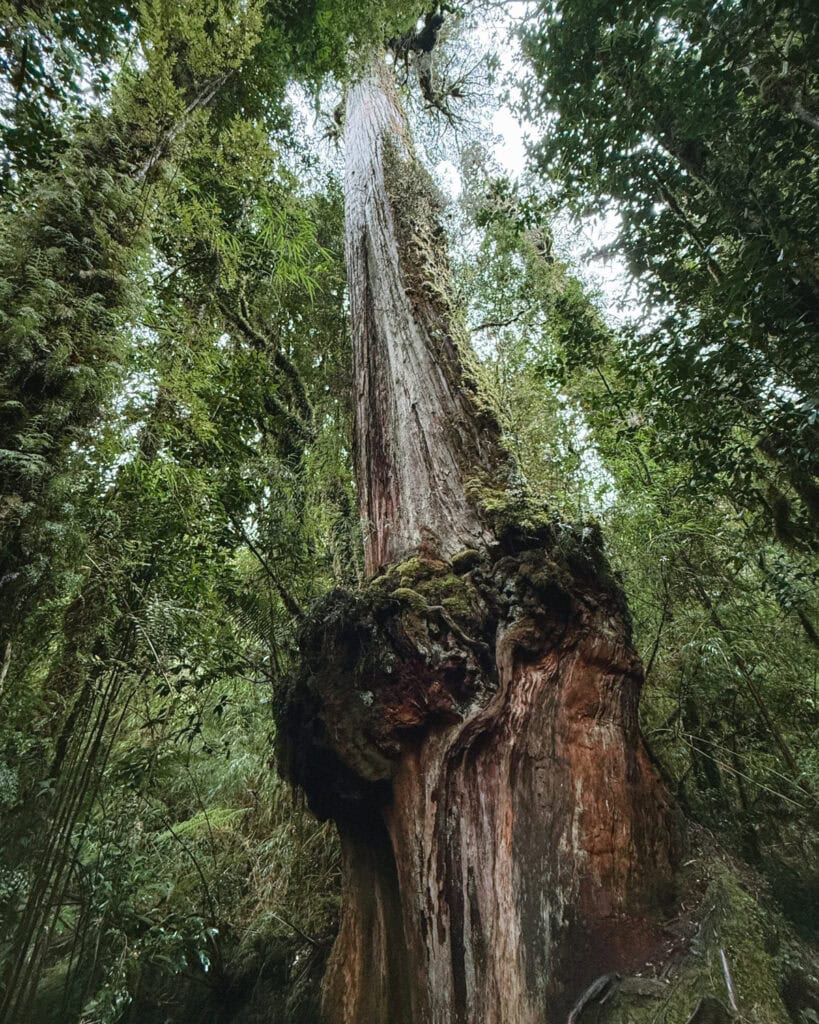
The Alerce tree, a type of Cypress, is a very special giant tree, thought to be one of the largest and oldest species of trees in the world. Even bigger and older than the sequoia trees!
They are native to southern Chile and Argentina, and can live for thousands of years. The oldest living Alerce tree is thought to be over 5,000 years old. ‘El Gran Abuelo’ is located a few hours north in Parque Nacional Alerce Costero.
The species is threatened, and it’s estimated that about 25% of all of Chile’s Alerce trees are protected inside Pumalin National Park.
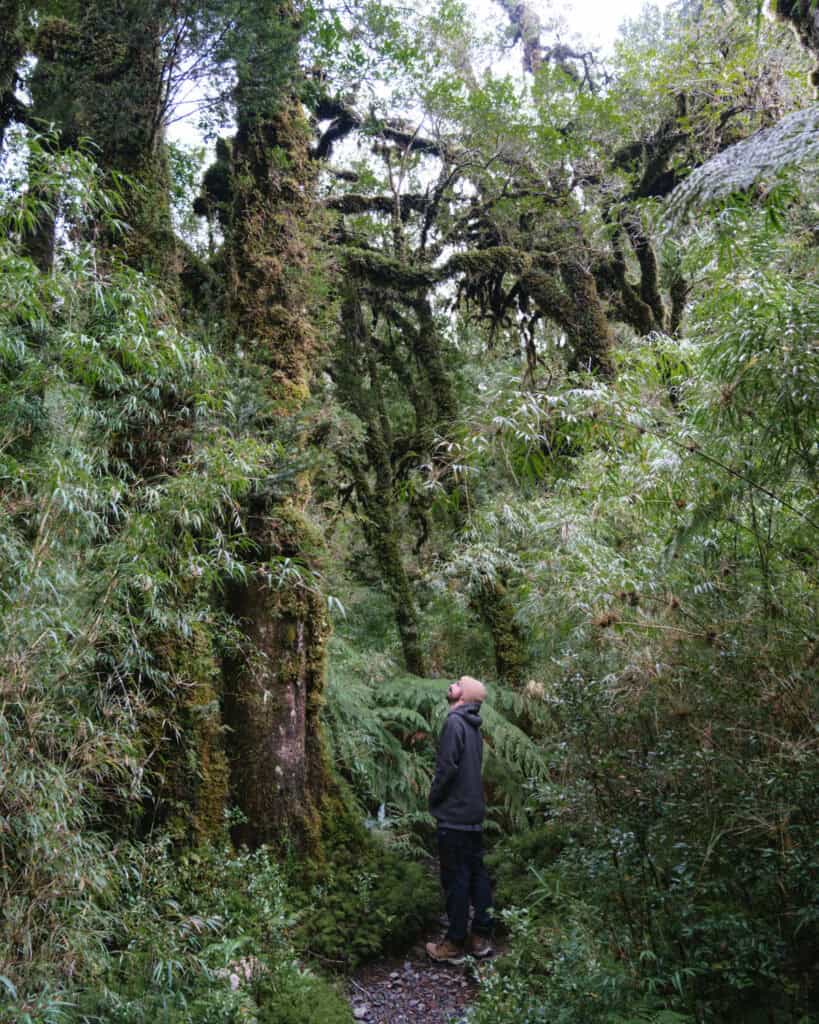
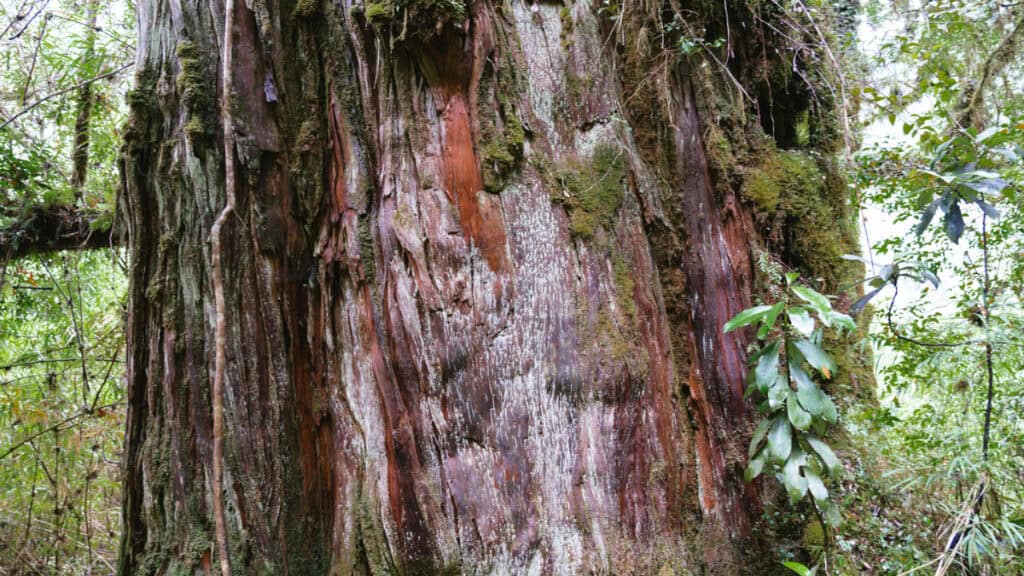
This short trail showcases a cluster of these tree giants. Many of them are considered milanerio, having been alive for over a thousand years. It is honestly mind-blowing to wander below these towering seniors and take in their height, the beautiful patterns on their bark and how impossibly enormous their trunks are.
It doesn’t take long, but this trail is really special. You can easily combine it with a few other trails in this sector of the park.
Sendero Cascadas Escondidas ⭐️
- 🥾 Trail type: out-and-back
- 📍 Trailhead location: Google Maps
- 🗺️ Trail map: AllTrails
- 📏 Distance: 3.5 km (2.2 mi)
- 📈 Elevation gain: 229 m (981 ft)
- 🥵 Difficulty: moderate
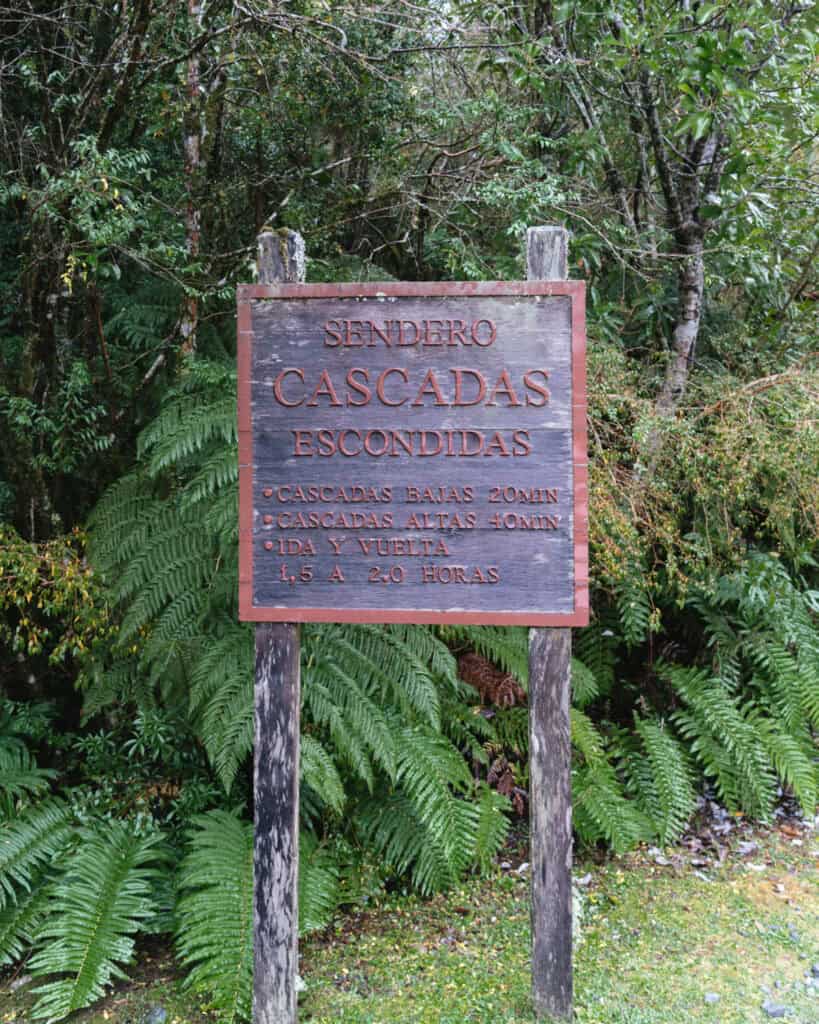
- ⏳ Duration: 1.5 – 2.5 hours
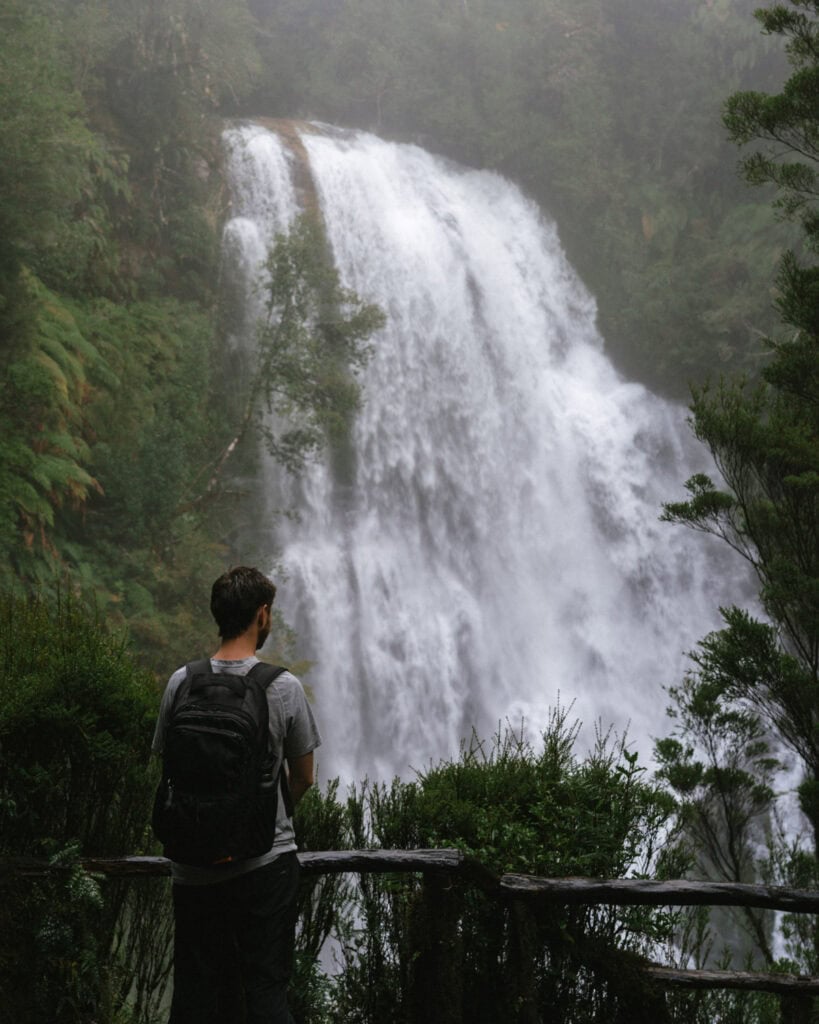
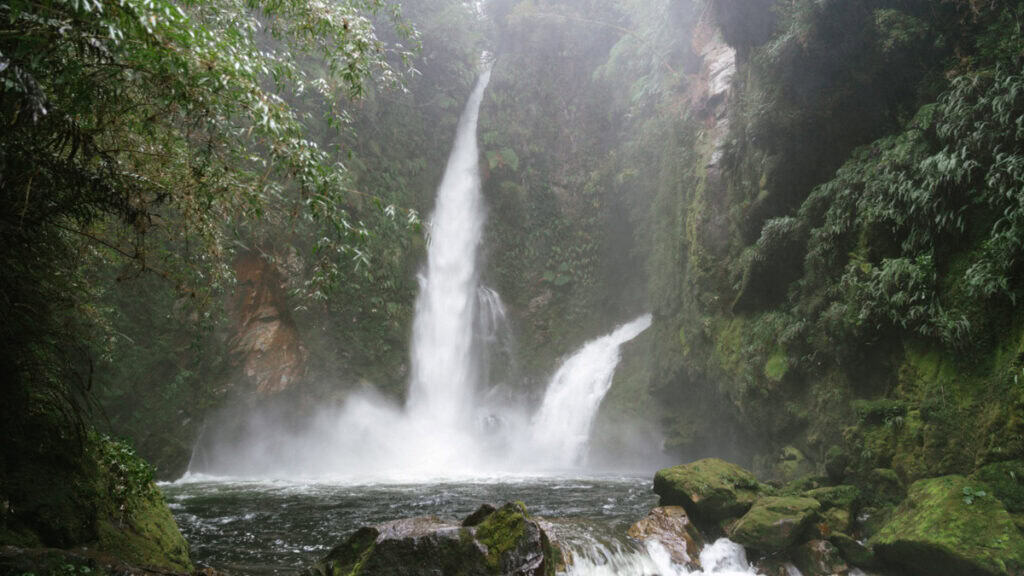
This trail is absolutely GORGEOUS! It truly blew us away.
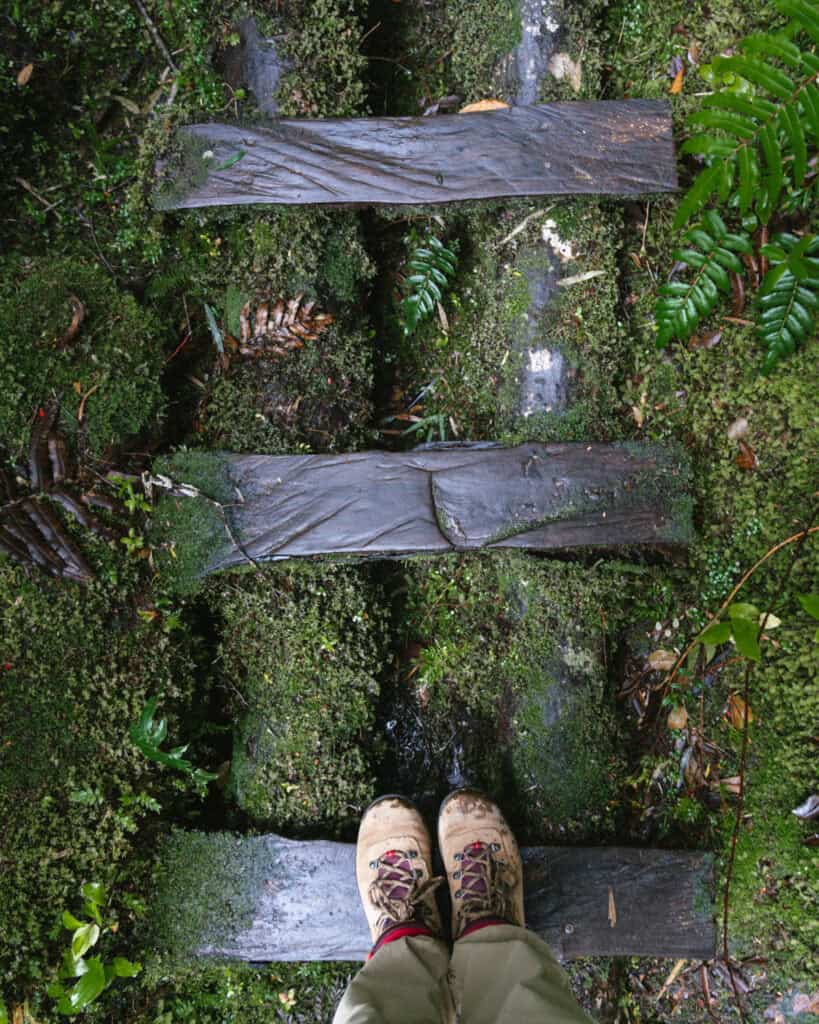
It’s wet, muddy and slippery, navigating mossy stairs, tree roots and rocks, but it is so worth it.
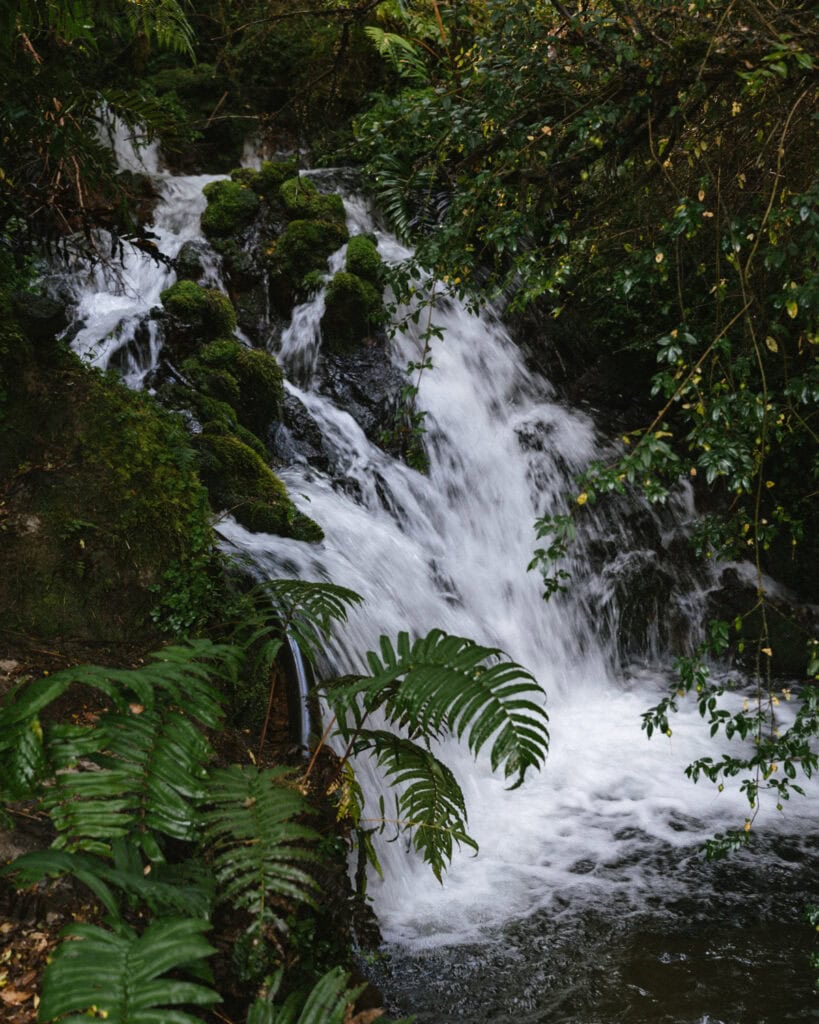
You get to see two waterfalls that feel as if they are hidden in the forest (hence the name!). The first one requires a sketchy climb down a ladder right to the base of the falls, standing on a rocky section of the river.
The second waterfall at the end of the trail was an unexpected delight. We visited after multiple days of heavy rain, and it was PUMPING! It literally took my breath away to stand on the viewing platform and be covered in wind and mist.
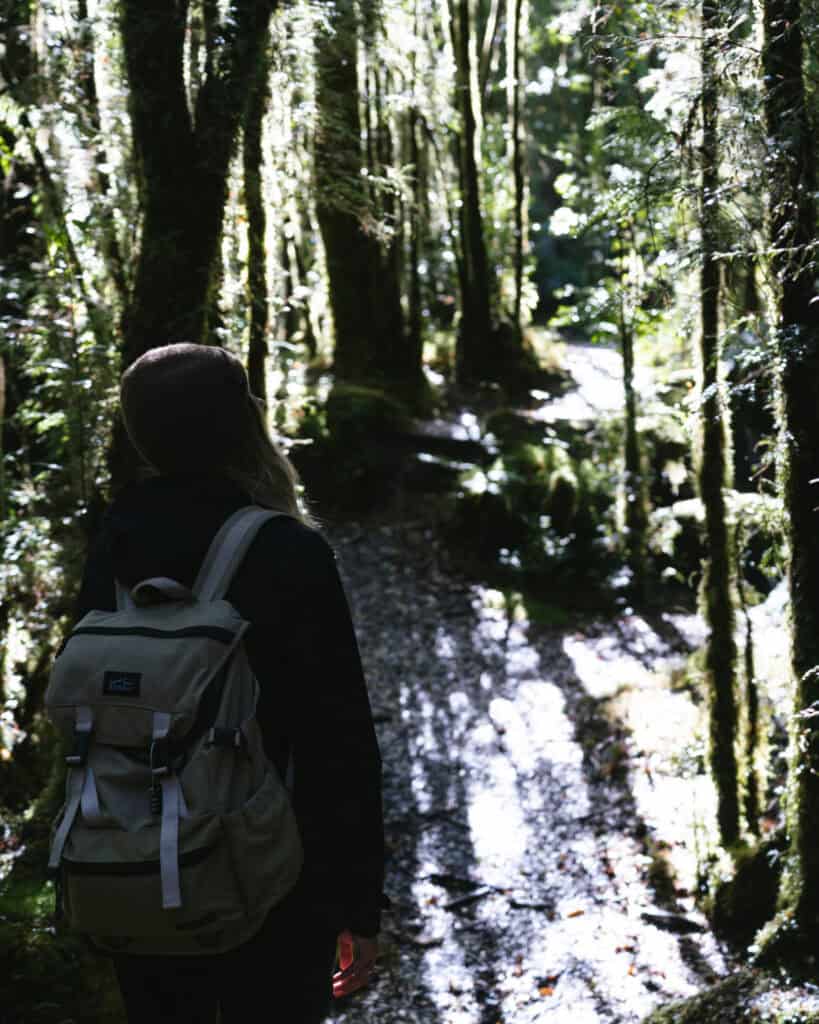
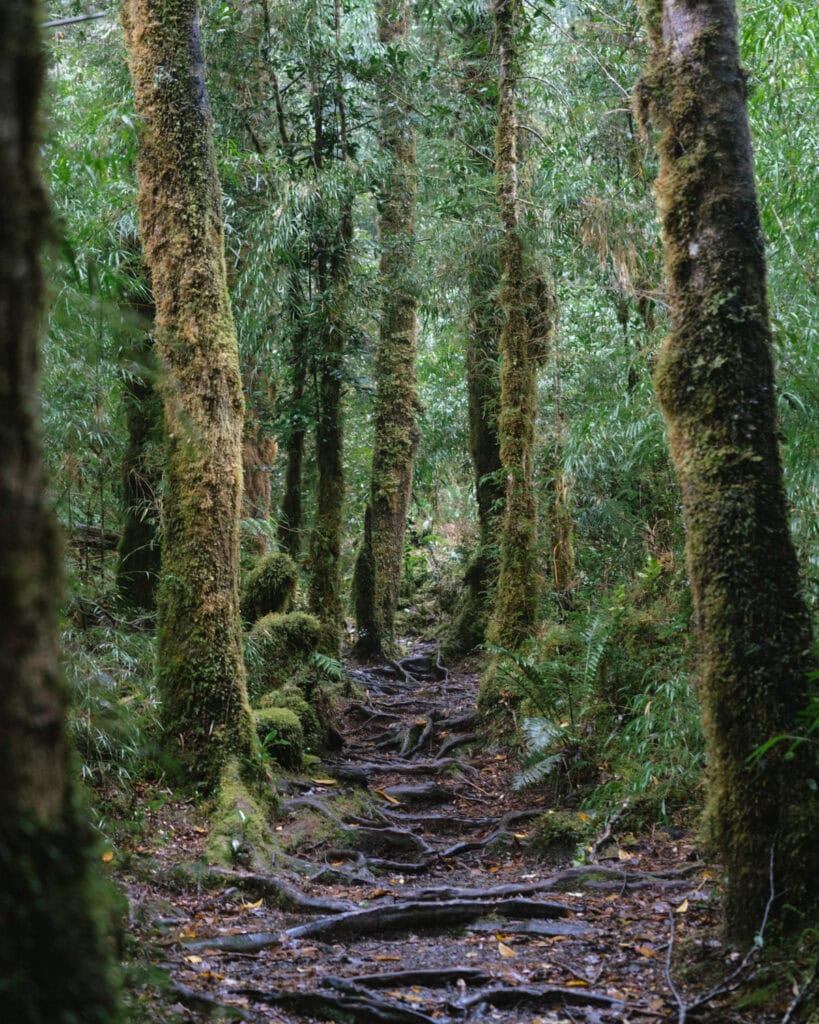
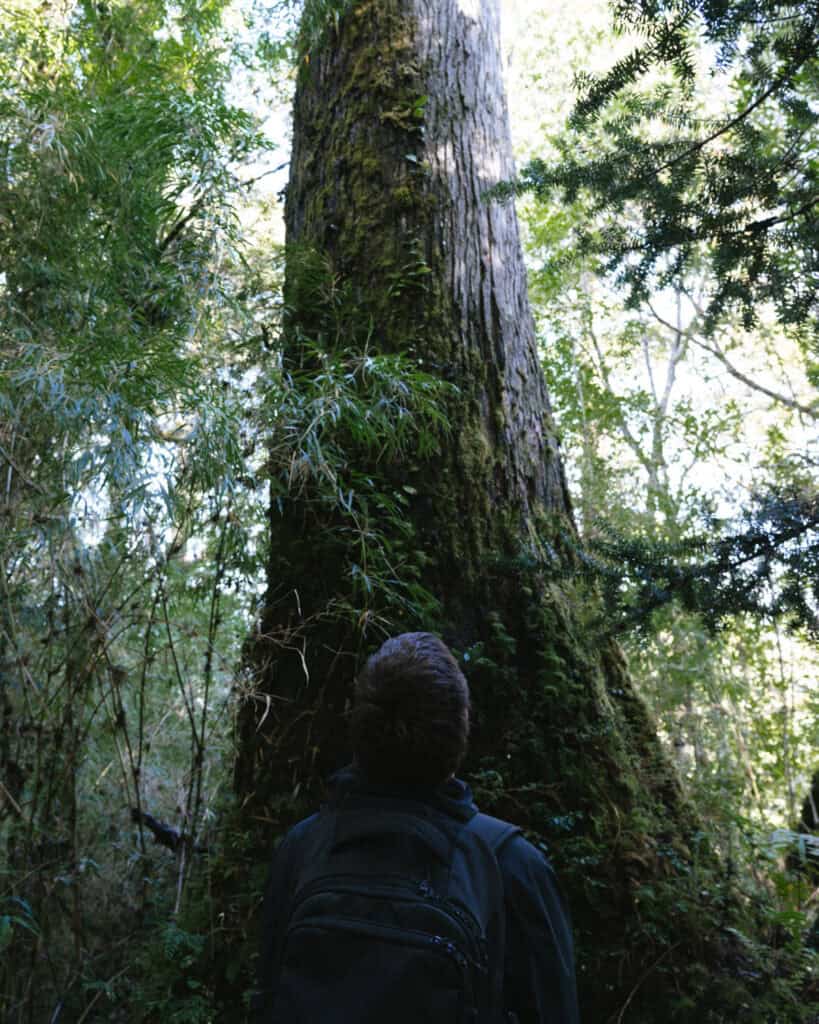
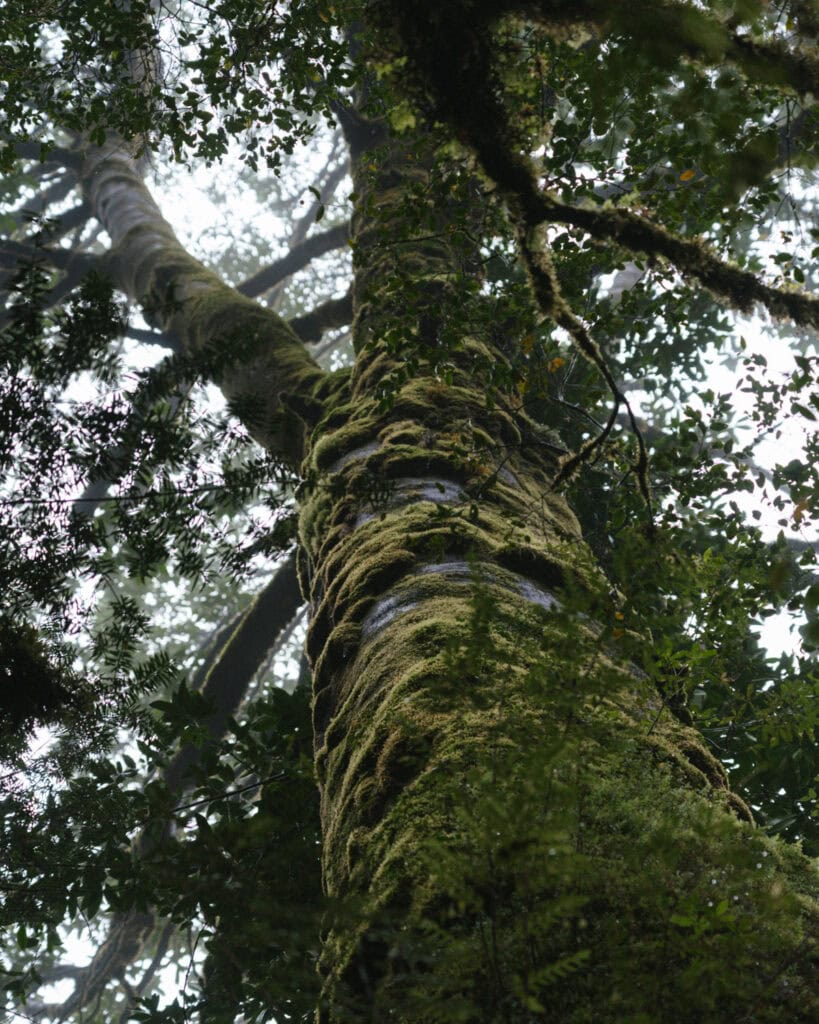
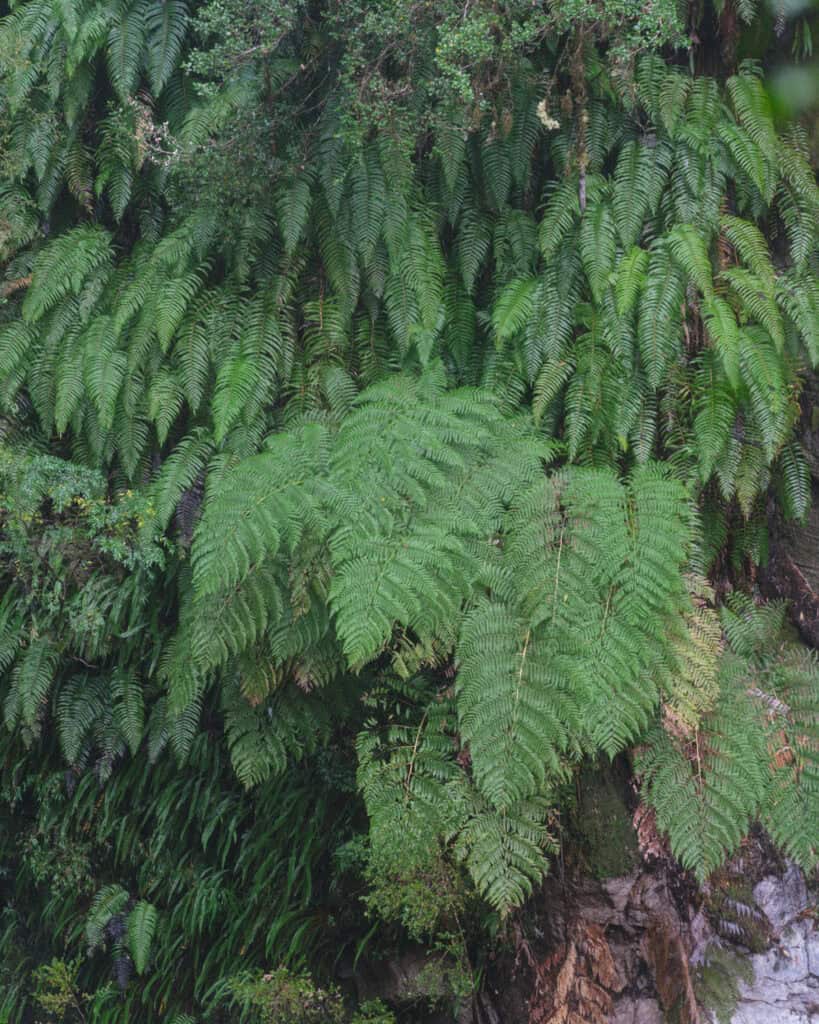
Besides the falls, the forest here is truly like a fairytale. Every surface was dripping with moss and lichen, with giant ferns and towering trees reaching high into the canopy.
Hiking poles won’t go astray here, to help you hop across puddles and stay steady on the slippery ground.
Sendero Mirador Lago Negro
- 🥾 Trail type: out-and-back
- 📍 Trailhead location: Google Maps
- 🗺️ Trail map: AllTrails
- 📏 Distance: 1.8 km (1.1 mi)
- 📈 Elevation gain: 31 m (102 ft)
- 🥵 Difficulty: easy
- ⏳ Duration: < 30 minutes
This is a short and sweet trail leading from the Lago Negro campground down to the lakeshore. There is a covered viewing platform.
Sendero Volcán Michimahuida
- 🥾 Trail type: out-and-back
- 📍 Trailhead location: Google Maps
- 🗺️ Trail map: AllTrails
- 📏 Distance: 23.7 km (14.7 mi)
- 📈 Elevation gain: 955 m (3,133 ft)
- 🥵 Difficulty: hard
- ⏳ Duration: 7.5 – 8.5 hours
This trail looks bloody hard and doesn’t have the best reviews. I’m not embarrassed to say I did NOT do this and didn’t feel sad to miss out, haha.
It’s a long, tough slog up to the western slope of Volcan Michimahuida. I don’t think this trail is used often, and a lot of reviews mention the trail being overgrown and not maintained. I think you’re better off approaching the glacier from the El Amarillo Sector.
Let me know if you attempt it.
Sendero de Interpretacion El Volcan
- 🥾 Trail type: loop
- 📍 Trailhead location: Google Maps
- 🗺️ Trail map: AllTrails
- 📏 Distance: 1.6 km (1 mi)
- 📈 Elevation gain: 19 m ( ft)
- 🥵 Difficulty: easy
- ⏳ Duration: < 30 minutes
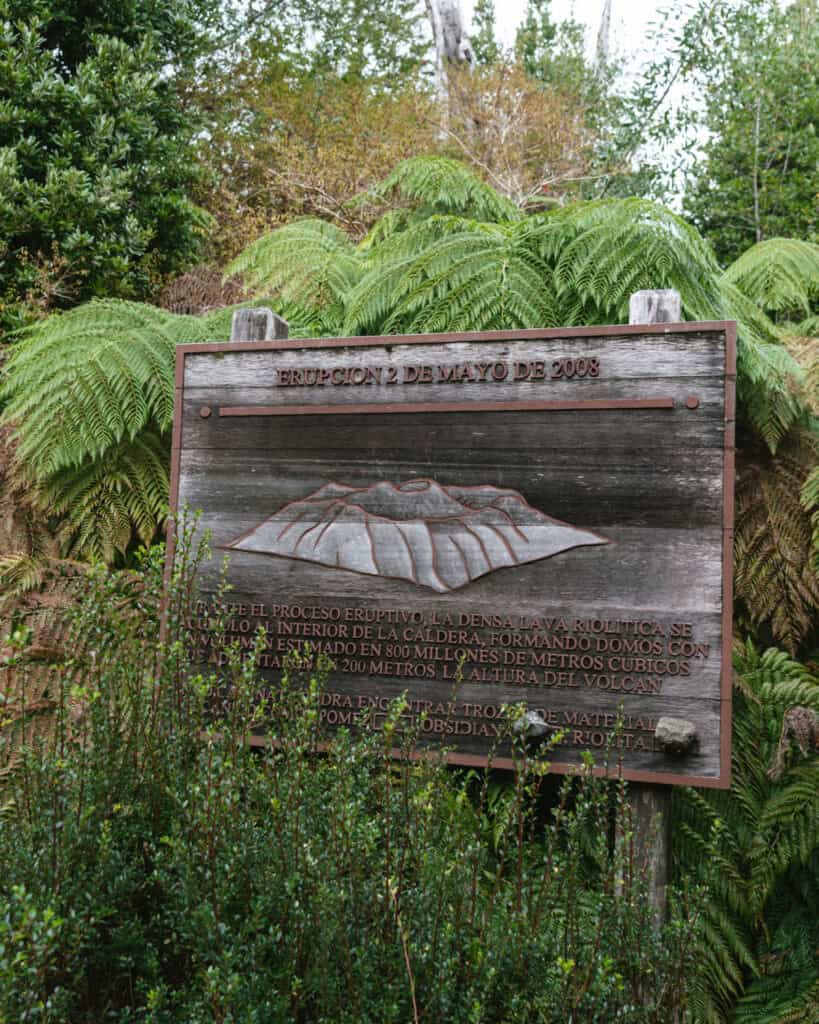
I wouldn’t go out of your way to do this short trail, but if you’re staying at Camping El Volcan, it could be a nice thing to do. It’s an educational trail with signs about the flora and fauna of the area.
Sendero Volcan Chaiten ⭐️
- 🥾 Trail type: out-and-back
- 📍 Trailhead location: Google Maps
- 🗺️ Trail map: AllTrails
- 📏 Distance: 4.7 km (2.9 mi)
- 📈 Elevation gain: 621 m (2,037 ft)
- 🥵 Difficulty: hard
- ⏳ Duration: 3 – 4 hours
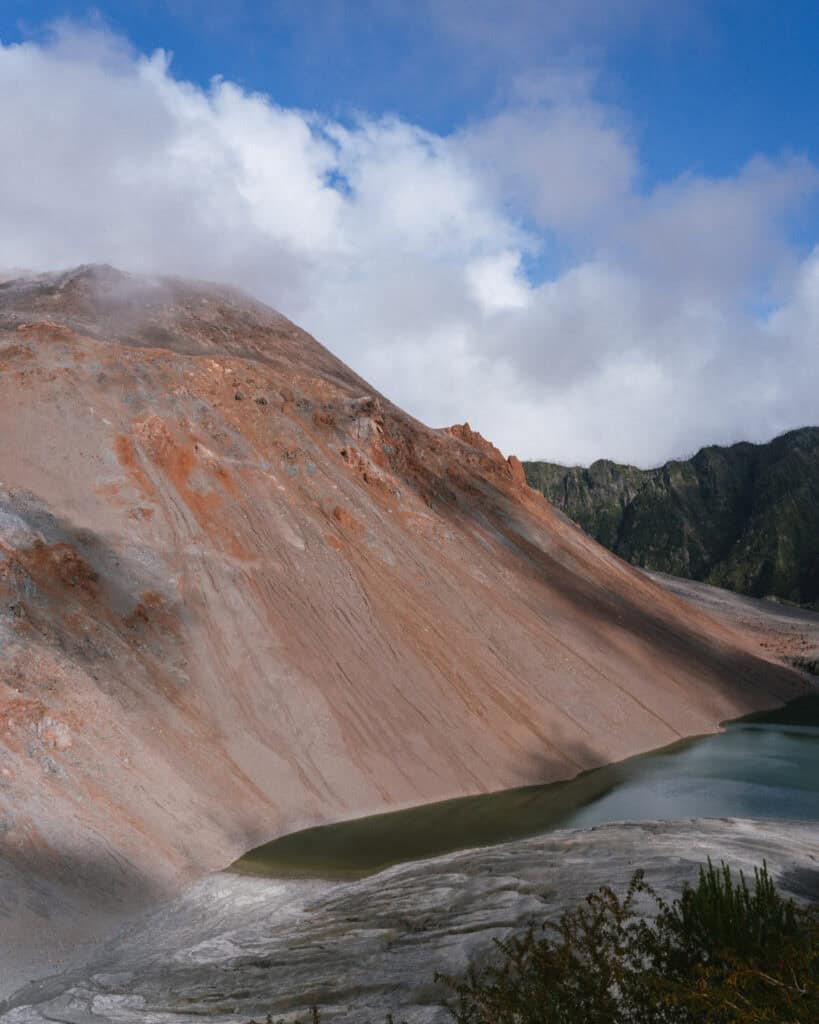
Volcan Chaiten is the most popular hike in the park, and for good reason.
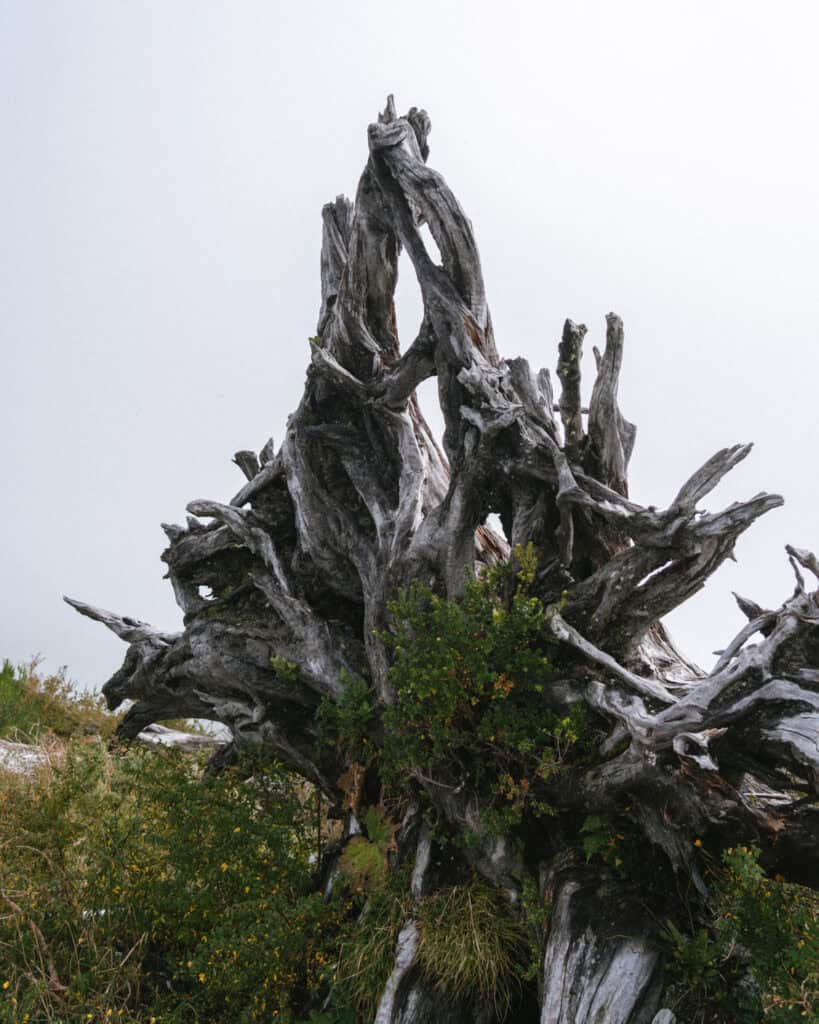
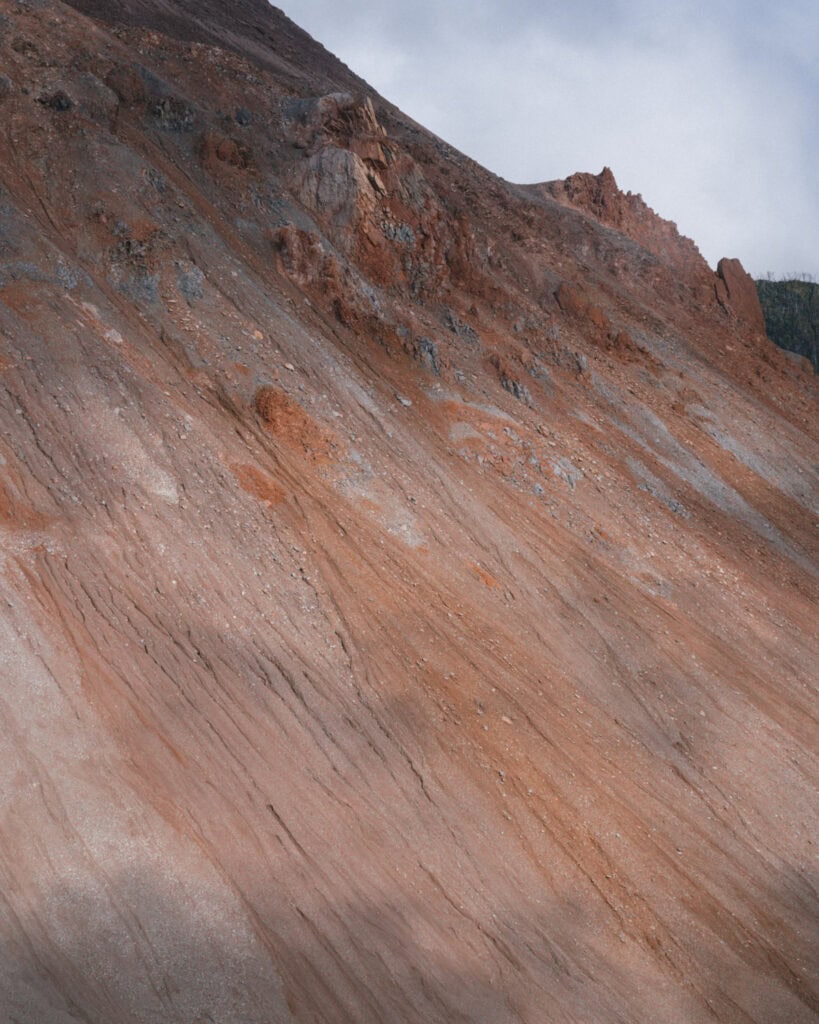
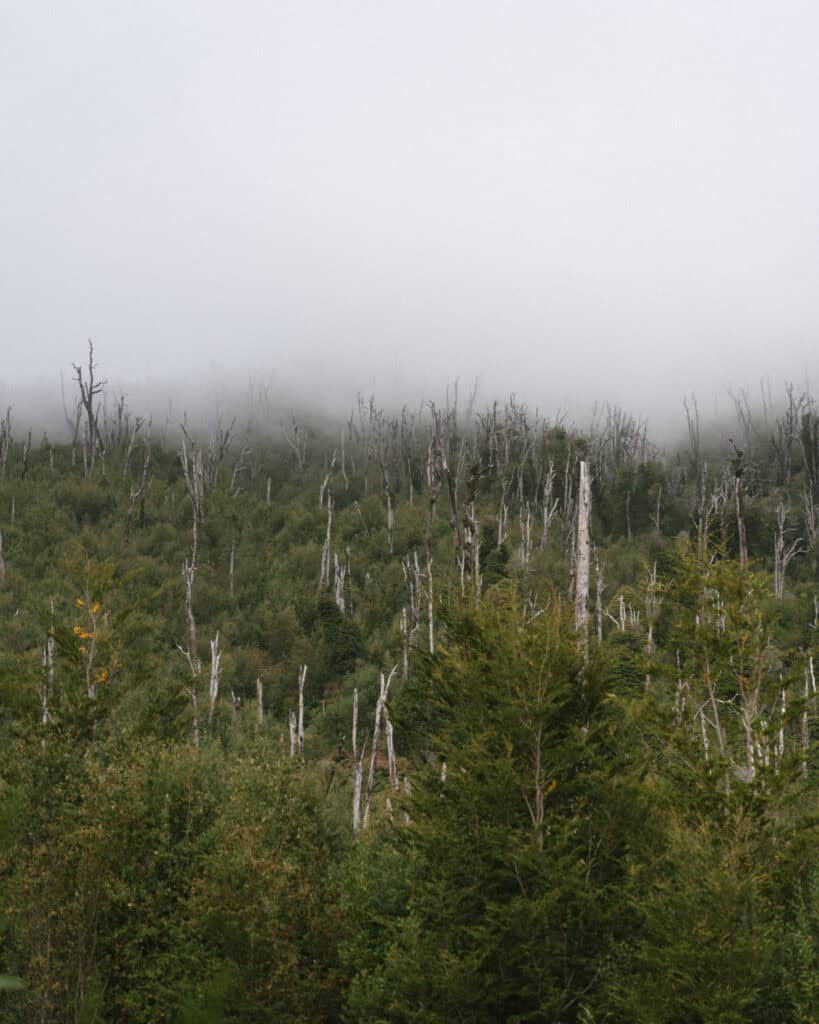
It is a humbling experience to hike up the slopes of the volcano that wreaked so much havoc on Chaiten. It’s crazy to see how damaging nature can be, but also how quickly it can regenerate after a disaster.
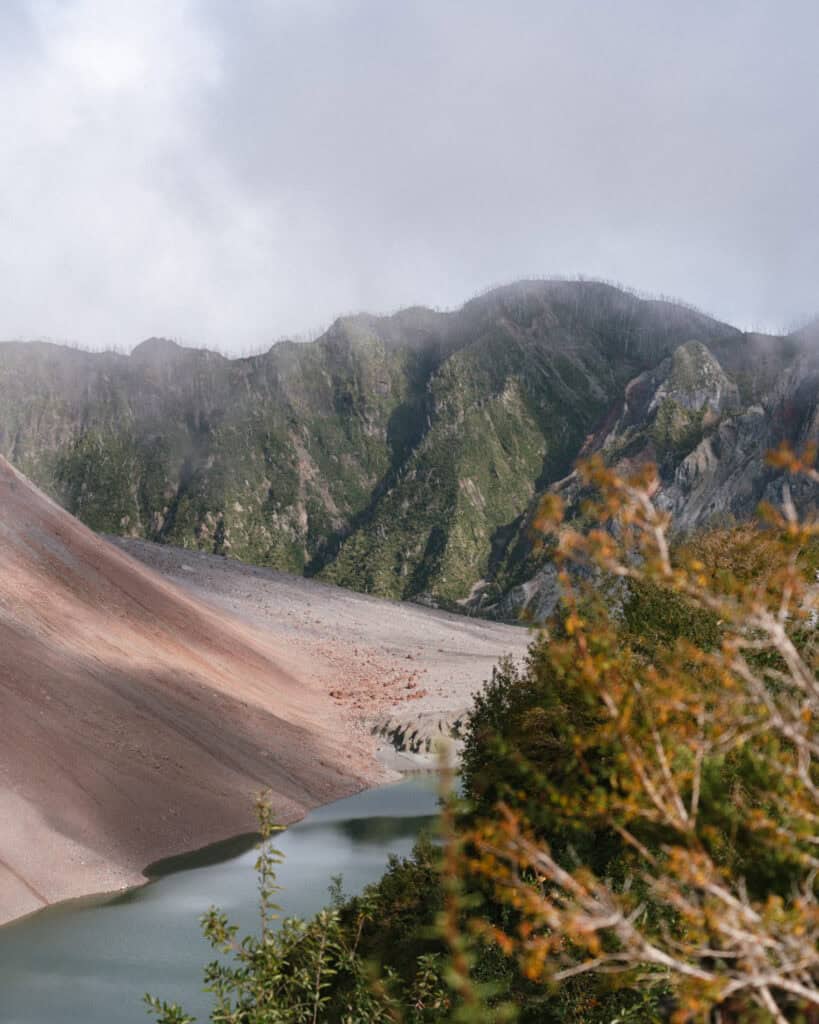
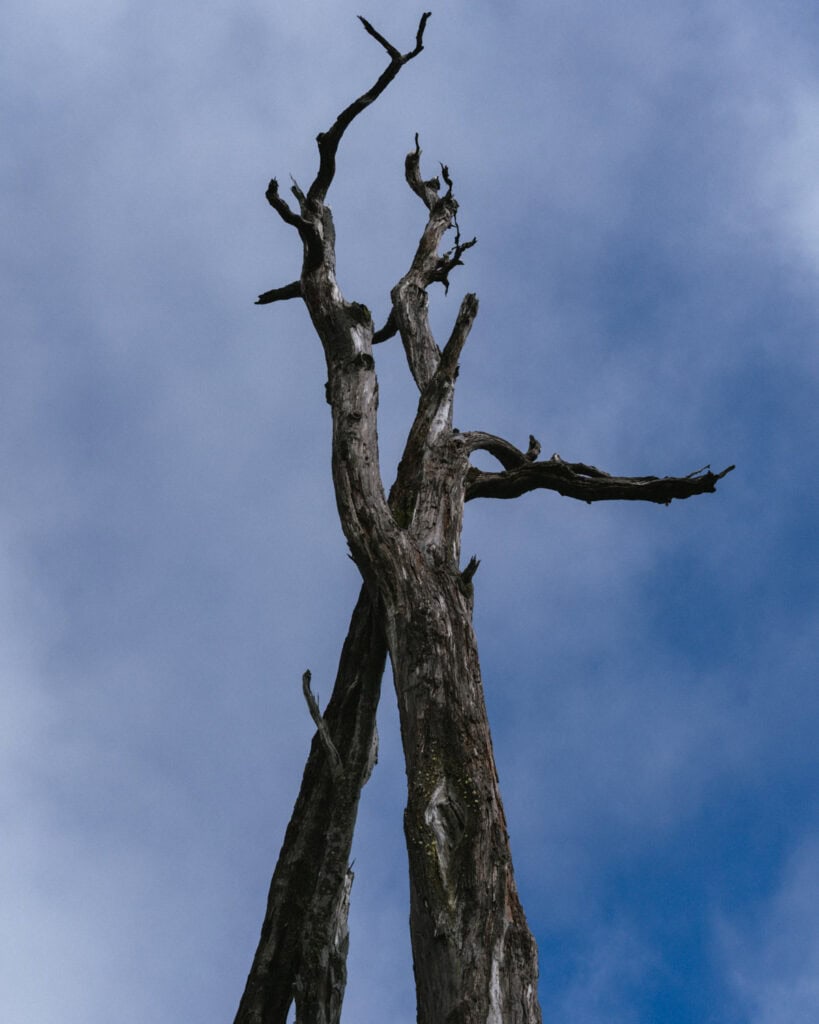
For the first few kilometres, you’re in a green forest with almost no evidence of the eruption, but as you approach the summit, the forest cover reduces, dead trees stand tall, and you look down into the depths of the smoking crater.
Do be aware that cloud cover can sometimes conceal the crater entirely. No one can control the weather in this part of Patagonia, but if you can plan to hike on a clear day, that’ll give you the best shot at some clear views. Save the forest and waterfall hikes for a rainy day – they can actually be quite atmospheric! If you are at the summit and can’t see anything, hang around, the cloud can shift quite quickly.
Despite not being that long, this hike was TOUGH. I don’t know if it was just because we were at the end of our hiking tether after two months in Patagonia, feeling lazy and exhausted, or if it’s genuinely tough, but I complained endlessly on the ascent and needed a few packets of lollies to make it to the top! Totally worth it though.
El Amarillo Sector
There are three trails in this sector of the park. It feels quite different and separate from the northern sector, as there is a proper entrance area before you access the trails.
You must park, walk up the stairs to the visitor information centre and check in with the rangers before you enter the park. Note that they close for lunch from 1:00 pm – 2:00 pm, and NO check-ins can be done at this time.
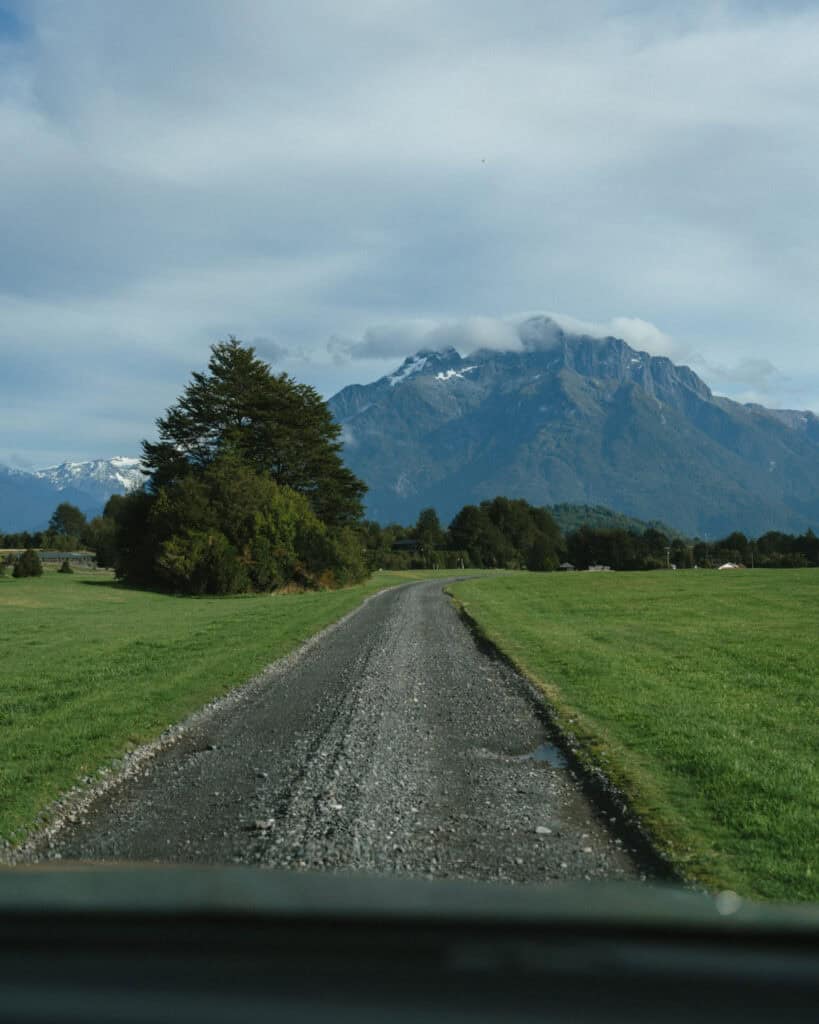
When you’ve done that, assuming you’re driving, you then enter the park proper via a long access road. Beware, the road does not look like a road on the map. You can’t get directions via Google Maps to the trailheads, and even when it’s right in front of you, it’s very unclear that it’s actually a road.
Once you’ve turned off the Carretera Austral onto W-887 at this location, DO NOT CONTINUE DRIVING UP THE HILL. It’s what your map will tell you, and it seems obvious, but this is not the way.
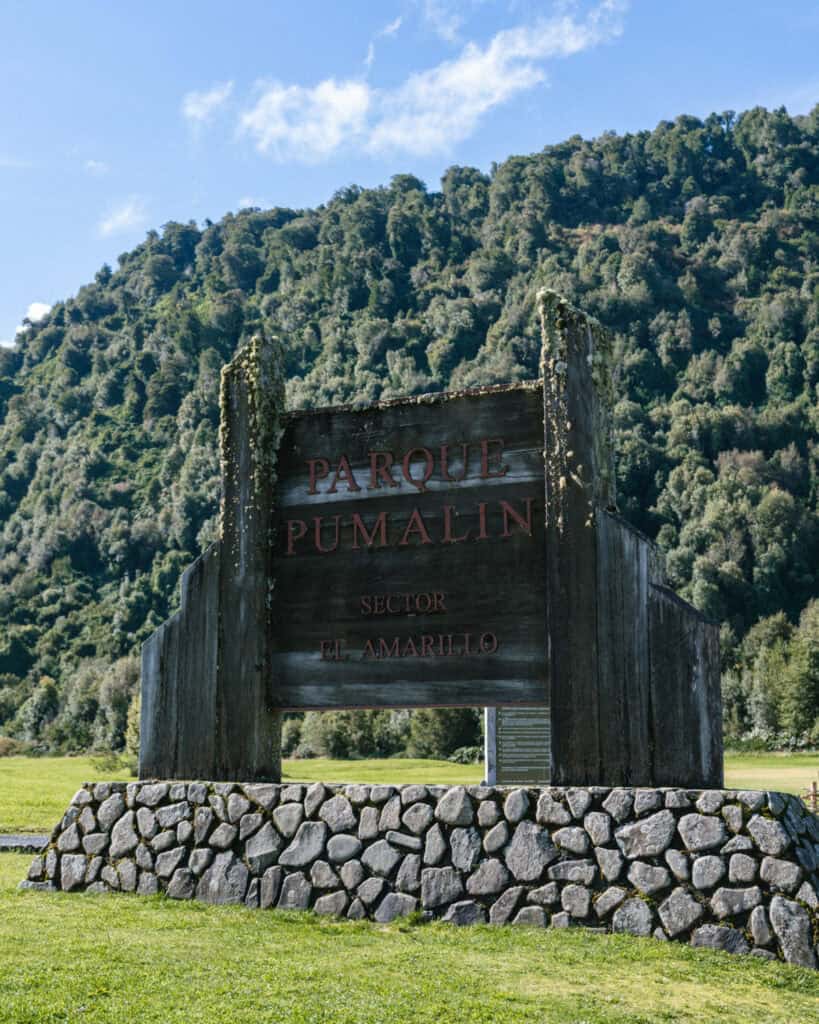
Instead, look at the huge Parque Pumalin sign on the left side of the road. You’ll notice a weird fence thing blocking what looks to be a path through a grassy field. This is the access road.
After you’ve checked in, you can just push the gate aside to drive in. Strange, I know!
I’ve listed the trails in the order you’ll encounter them along the access road.
Sendero Ranita de Darwin ⭐️
- 🥾 Trail type: loop
- 📍 Trailhead location: Google Maps
- 🗺️ Trail map: AllTrails
- 📏 Distance: 3.5 km (2.2 mi)
- 📈 Elevation gain: 82 m (269 ft)
- 🥵 Difficulty: easy
- ⏳ Duration: 1 – 2 hours
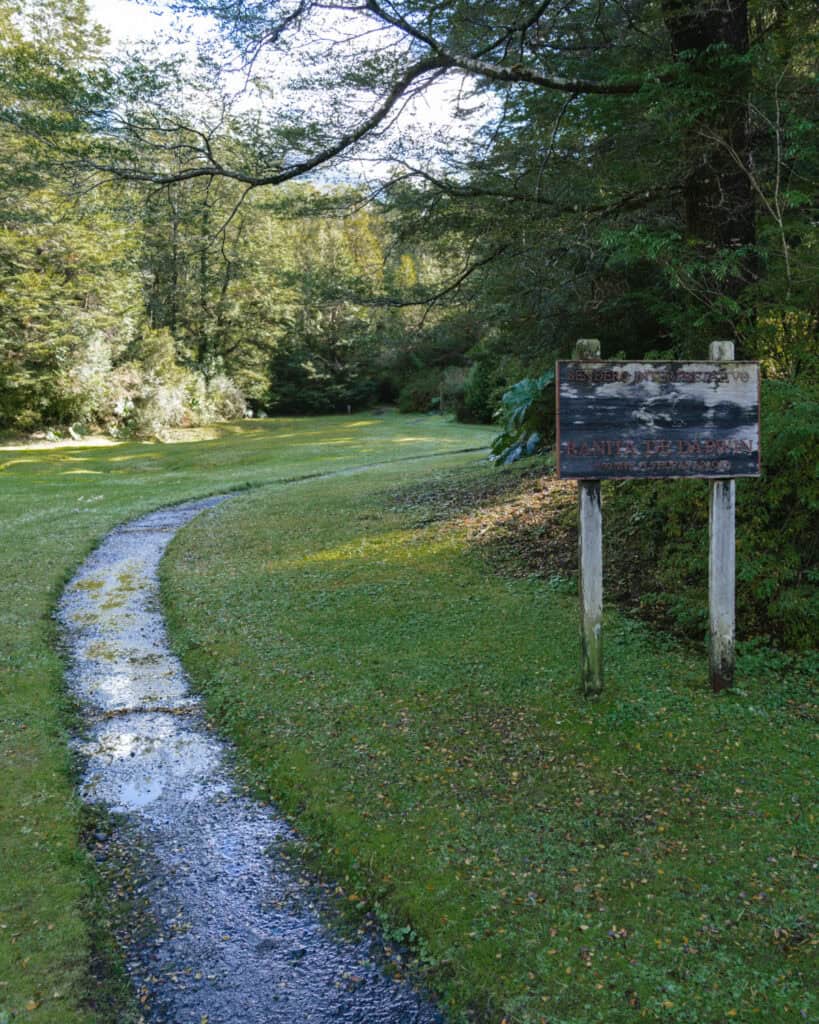
This is a lovely, easy looping trail through an enchanted forest.
If you’re not up for the lengthier glacier hikes in this sector, this is the best option to experience this part of the park.
It’s a loop that crosses the access road at one point. If you follow the trail in an anti-clockwise direction, you’ll start with a gentle meander through the forest before crossing the road and climbing gently.
Like everywhere in Pumalin Park, it can be muddy!
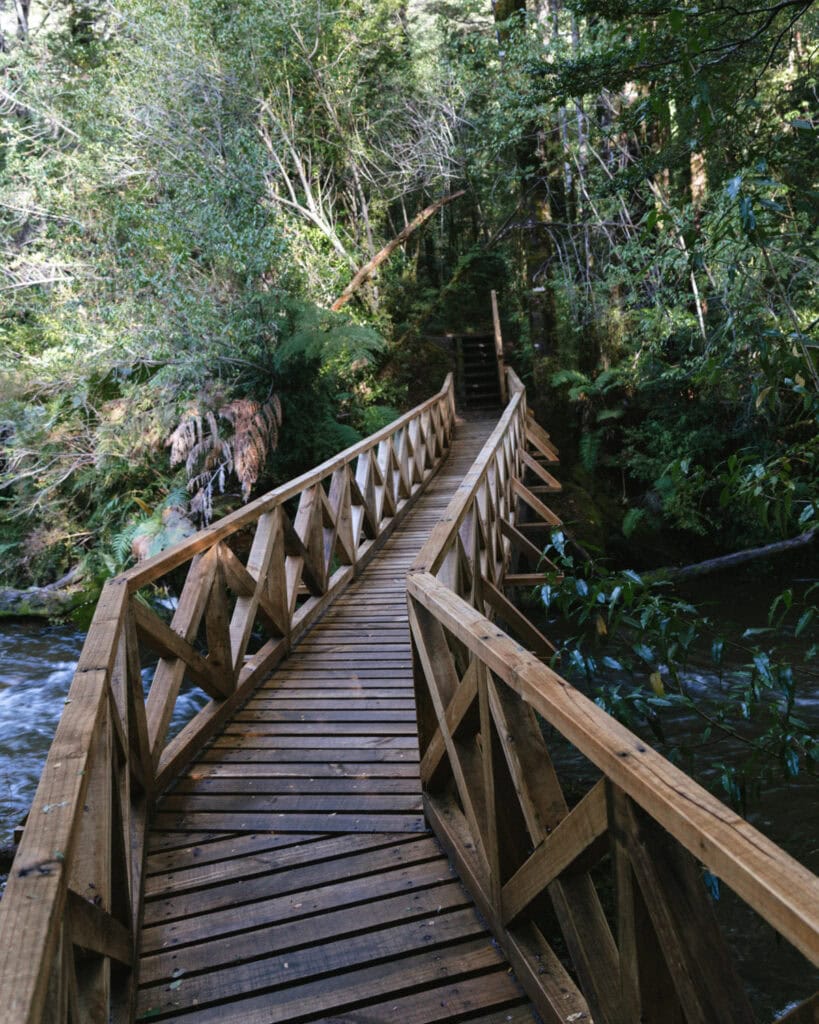
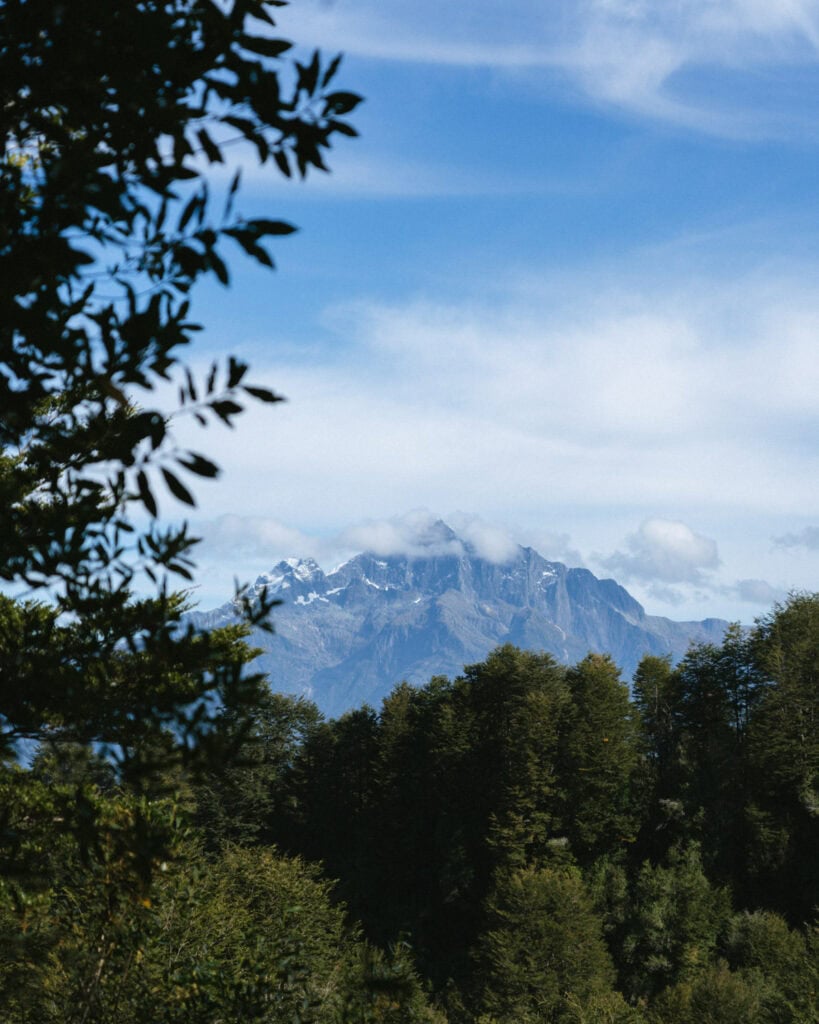
The route is mostly about the forest, but there are a few really lovely elevated viewpoints looking over distant mountains. There is a small waterfall just before you cross the access road, and then the trail turns from a forest path to bridges, stairs and ladders along the banks of the river.
Keep an eye out for the little frogs that give the trail their name.
Sendero Mirador Glaciar Michinmahuida
- 🥾 Trail type: loop
- 📍 Trailhead location: Google Maps
- 🗺️ Trail map: AllTrails
- 📏 Distance: 6.8 km (4.2 mi)
- 📈 Elevation gain: 399 m (1,309 ft)
- 🥵 Difficulty: moderate
- ⏳ Duration: 2.5 – 3.5 hours
The two glacier trails can be a bit confusing and are often referred to by multiple names.
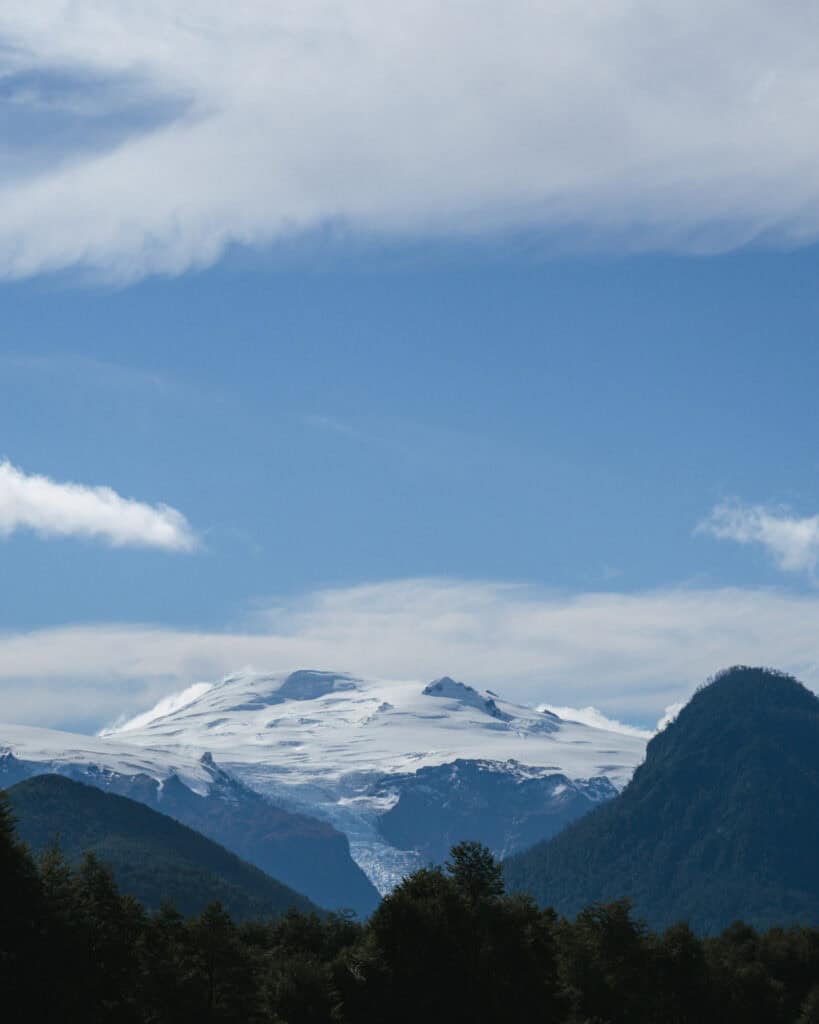
To get things straight, there is a glacier called Ventisquero Amarillo or Ventisquero Michinmahuida. It sits on the slopes of Volcan Michinmahuida, hence the two names.
There are two trails that involve this glacier. One is a shorter hike to a lookout, the second is a much longer trail that almost reaches the face of the glacier.
This trail, the Sendero Mirador Glaciar Michinmahuida, is to the mirador of the glacier, not the actual glacier.
It’s a loop trail that can be started from Camping Grande (if you don’t have a 4×4 vehicle) or from Camping Ventisquero (if you have a 4×4).
It’s a pretty steep ascent, and you are only going to get distant views of the glacier. A lot of the trail is along the 4×4 road to Camping Ventisquero.
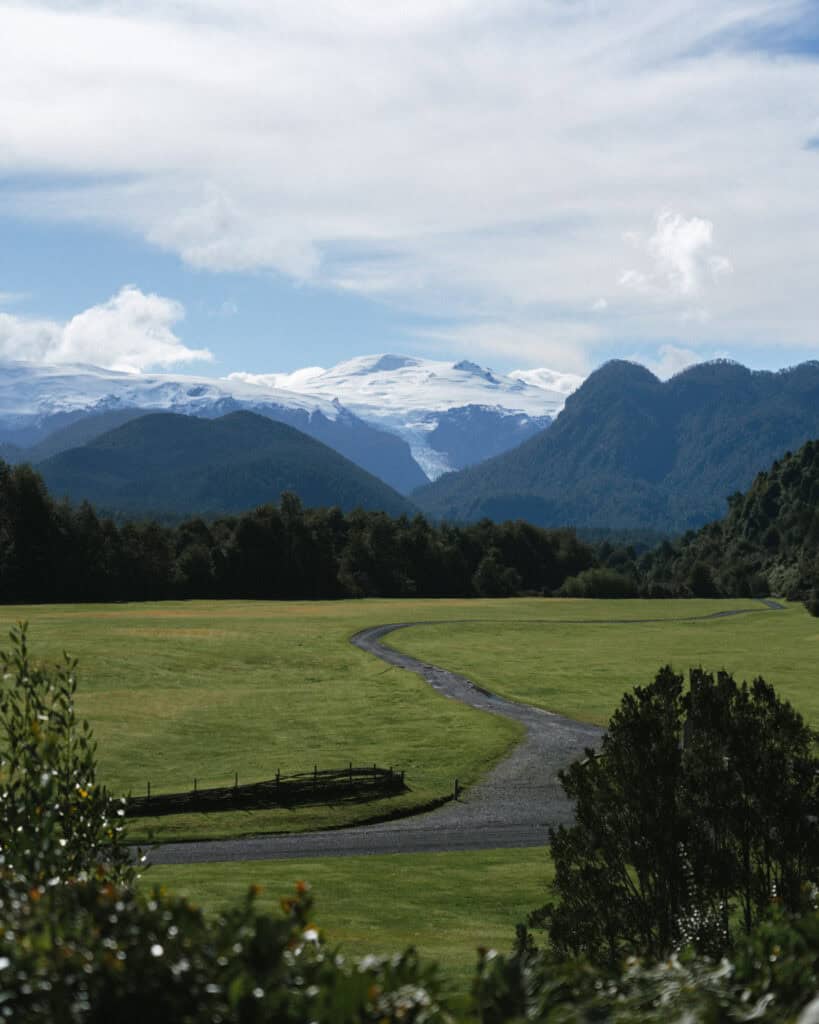
If you don’t have the time, means, or energy to hike the longer trail right up to the ice, it’s a nice option. If you have a 4×4 vehicle, I’d opt for the second option…
Sendero Ventisquero ⭐️
- 🥾 Trail type: out-and-back
- 📍 Trailhead location: Google Maps
- 🗺️ Trail map: AllTrails
- 📏 Distance: 20 – 26 km (12.4 – 16.2 mi)
- 📈 Elevation gain: max 897 m (2,943 ft) depending on where you start
- 🥵 Difficulty: hard
- ⏳ Duration: 7 – 8 hours
Okay, this is the second, longer trail that gets right up close to the face of Glaciar/Ventisquero Amarillo (or Michinmahuida, depending on who you ask!).
The trail on AllTrails is much longer and scarier than it needs to be. There are two points that you can start this trail from, and both are shorter than what the AllTrails trail indicates.
If you have a 4×4 vehicle, you can drive all the way to Camping Ventisquero and start the trail from there. It’s still long, but it’s more like 20 km return, and you cut out most of the elevation. It’s pretty flat or just gentle ascents from this point.
If you don’t have a 4×4 vehicle, you can start the trail from Camping Grande. The first part of the trail is the worst, with a steep ascent along the road to reach Camping Ventisquero.
There are multiple river crossings and lots of small ups and downs as you wander along the river valley. I highly recommend downloading the trail map in advance, as you do need to do a bit of wayfinding.
🧊 For an easier glacier hike not too far from Chaiten, check out the Ventisquero Yelcho Hike in neighbouring Corcovado National Park. It’s only 6 km (3.7 mi) return and the trail is flat!
Wildlife to look out for
Parque Nacional Pumalin is better known for its forest and flora than wildlife.
That doesn’t mean there isn’t any wildlife here, it’s just not as common to spot a lot of animals as in say, Valle Chacabuco in Parque Nacional Patagonia.
There is some excellent birdwatching around the park, and you have a great chance of spotting kingfishers, woodpeckers and the iconic chucao and hued hued.
If you’re lucky, you might see the very elusive and adorable pudu. The smallest deer in the world, the pudu is native to the Valdivian temperate forests of Chile. I had my eyes peeled constantly, but unfortunately, no dice!
What to bring
This is our go-to day-hike packing list for Patagonia.
We amend it slightly depending on the trail distance and terrain, and weather conditions, but as a base, this is everything we think about before a long day hike. Never forget that the weather in Patagonia can change on a dime, so even if you set out hiking in sunshine, you need extra layers for wet or freezing conditions.
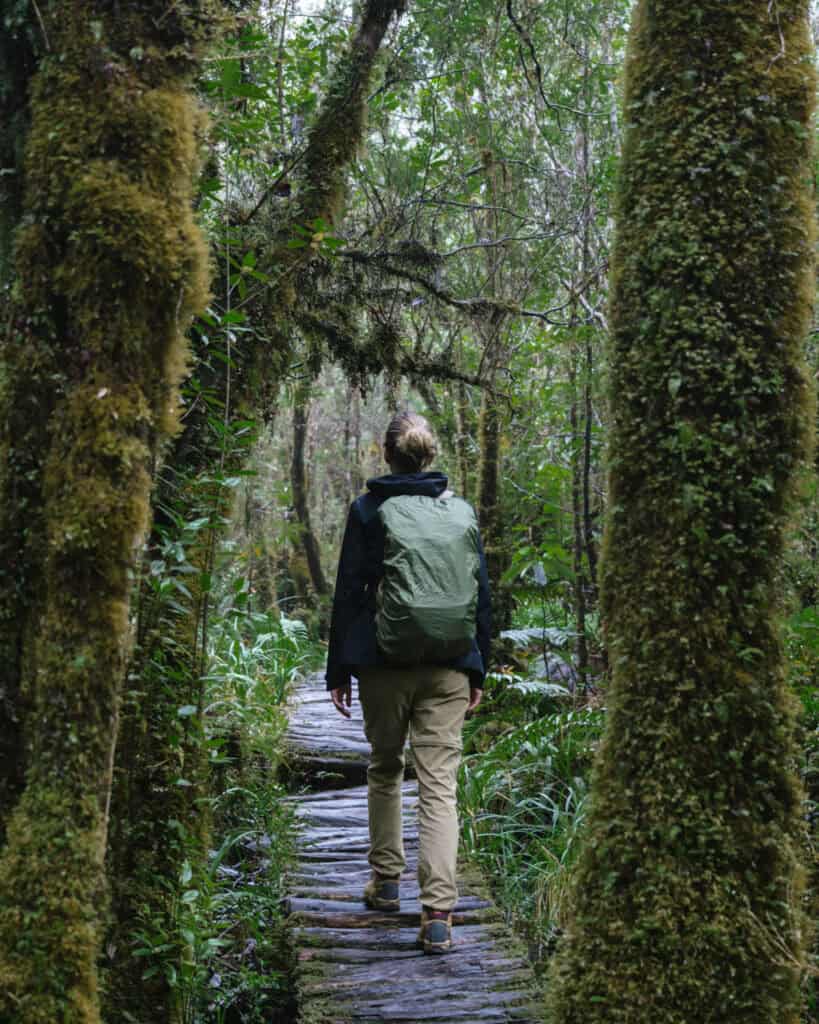
Pumalin National Park is WET most of the year, so come prepared for mud and rain. That means proper waterproof hiking boots, rain pants and jacket, covers for your bag and trekking poles to help with mud.
If you’re camping in the park, you’ll need to add on your tent and sleeping gear, food and additional clothes.
- 💦 Water bottles x 2 per person
- 🫧 Electrolyte sachets
- 🍭 Lollies
- 🥪 Lunch or snacks
- 🍴 Reusable cutlery kit (if required for food)
- ♨️ Thermos with hot water
- ☕️ Reusable coffee cup
- 🫖 Tea or coffee bags
- 🥾 Hiking poles
- 👀 Binoculars
- 🔦 Head torches
- 🧢 Hat
- 😎 Sunglasses
- 🧴 Sunscreen (reef-friendly)
- 🦟 Insect repellent (natural)
- 🧥 Rain coat and pants
- ☔️ Dry bags and/or waterproof bag cover
- 🧣 Gloves, scarf/buff and beanie
- 🥶 Extra warm layers
- 🧦 Spare pair of socks
- 🩳 Shorts to change into if warm
- 🧖🏽♀️ Towel (if swimming)
- 👙 Bathers (if swimming)
- 🩹 Mini first aid kit and medicines
- 🧻 Tissues and/or toilet paper
- 🚽 SheWee
- 📱 Charged phone with trail map downloaded offline
- 📷 Camera with spare batteries and memory card
- 📚 Ereader
- 🔌 Powerbank and phone cord
Planning a trip to Chaiten
Pumalin National Park is right near the town of Chaiten, and it’s a great place to base yourself while visiting the park. If you’re planning a trip to Chaiten or the Carretera Austral more broadly, don’t forget to read our Chaiten travel guide too. It covers all the important info you need to know about the town, like getting there, getting around, the best places to eat, where to stay and other handy tips to get your bearings.
🌋 Everything you need to know about Chaiten
Final thoughts: Pumalin National Park
Pumalin is such an excellent national park. Anything the Tompkins have touched in Chile has turned to gold, and the standard of facilities and maintenance in all of their parks is second to none.
Not only is the nature spectacular and diverse, but the park is just beautiful! The wooden shingled park buildings and lodge are so charming.
We loved all the hikes we did, and my only regret is that we didn’t have time to do more. We lost an entire day to rain, which is not unusual in this part of the world, and unknowingly visited the park after the campsites had closed for the season.
Hopefully, after reading this guide, you are more prepared than we were and can plan an amazing few days in Pumalin National Park.
Don’t forget to check out our Chaiten guide, the jump-off point for the park and a very lovely seaside town. The park is definitely the thing to do in the area, but there are a few other nice beaches and activities around town.
MORE CHAITEN POSTS
- Chaiten, Chile Travel Guide: A Town That Nearly Disappeared
- Ventisquero Yelcho Hike Guide: Corcovado National Park, Chile