
This article contains affiliate links that may earn me a small commission at no extra cost to you. As an Amazon Associate, I earn from qualifying purchases. For more information, see our affiliate disclaimer.
The Santa Ana Volcano hike is one of the most popular things to do in El Salvador, and for good reason. It’s not every day you can look down inside an active volcano to a bright green sulphur lake spewing gases everywhere!
The hike is affordable, easy to access via public transport and the views inside the crater and of the surrounding volcanoes is truly epic.
It’s a must-do in El Salvador, but it’s actually quite confusing to work out how to do the Santa Ana Volcano hike independently. There is a lack of official information from the national park, and a ton of outdated and incorrect information online.
We were super unclear on how it all worked before our visit, so this guide should hopefully answer all your questions about visiting the volcano.
From which bus to take to align with the guided tours, how much the guides actually cost and whether they’re necessary, and how quickly you need to hike to make it back down to the bus in time!
Read on for our complete guide to the Santa Ana Volcano hike, the highlight of our time in El Salvador.

Santa Ana Volcano hike overview
- 🥾 Trail type: out-and-back
- 📍 Trailhead: Google Maps
- 🗺️ Trail map: AllTrails
- 📏 Distance: 6.9 km / 4.3 mi
- ⬆️ Elevation gain: 471 m / 1,545 ft
- 🔋 Difficulty: moderate for hikers, challenging but doable for non-hikers
- ⏰ Duration: 1.5 – 2 hours up, 1 – 1.5 hours down
- 🧍🏻 Guide required: yes
- 💰 Cost: $3 USD national park entry + $4 USD guide fee + $0.5 USD pedestrian / $1.50 USD motorbike / $3 USD vehicle access to the parking lot

About the Santa Ana Volcano
Volcan Santa Ana, known locally as Volcan Ilamatepec, is the highest volcano in El Salvador, sitting at 2,381 metres (7,811 feet) above sea level.
In a region with dozens of volcanoes, Santa Ana stands out as one of the best! Sitting inside the crater at the summit is a turquoise sulphur lake, with a colour so bright it looks radioactive. It was unlike anything we had ever seen before.
The Santa Ana Volcano is located inside Parque Nacional Cerro Verde (Cerro Verde National Park). There are two other volcanoes inside the park, Volcan Izalco and Volcan Cerro Verde. It’s also possible to hike up Izalco Volcano, but it’s much tougher and steeper. Cerro Verde is an extinct volcano, which now has a dense forest growing on its slopes.
The Santa Ana Volcano is still active, with the last eruption in 2005 spewing out lava and volcanic rocks the size of cars. Don’t worry, the authorities constantly monitor the activity of the volcano and have a pretty good idea if it’s going to erupt!

How to hike the Santa Ana Volcano
The way the Santa Ana Volcano hike is run is complicated, confusing, and quite badly organised, with no official information online.
A guide is mandatory to do the hike, but the exact cost and process for obtaining one are unclear and inconsistent.
It’s very informal, and it seems to completely depend on the number of people arriving at any given time, as to how the tour will run.
Your experience will be vastly different, depending on how you get to the volcano. In the following sections, I’ll detail how to get to the trailhead via different transport methods, but also how you can expect the hike to run based on how you’ve arrived.
KEY INFORMATION FOR THE SANTA ANA VOLCANO HIKE 🌋
- You must hike the Santa Ana Volcano with a local guide
- Guides are waiting at the trailhead, and are official and employed by the park
- This trailhead area is actually a car park on private property. There is a $3 fee to park a car or $1.50 for a motorbike, but pedestrians also have to pay for access for $0.5.
- There is at least one official group hike run per day, departing between 9:30 am – 10:00 am (depending on when the bus from Santa Ana arrives) for $4 per person
- If there are a lot of people at the volcano earlier (e.g. on weekends or holidays), they may run additional group hikes at 8:00 am and 9:00 am for the fixed price of $4 per person. There is no outlet to find out this information beforehand, they need 15 people to run a ‘shared’ group
- A private guide, to go outside of the group hike is $40
- If you have your own means of transport, you can arrive at the trailhead and start a private hike anytime from around 7:00 am
- There is a good chance there will be some other hikers to split this cost with, but it won’t be as cheap as the group price of $4 per person
- No hikes can start after 11:00 am, some days they seem to enforce this even earlier
- If you don’t want to join the group hike at 9:30/10:00 am, I would suggest arriving earlier, not later to ensure you can get up the volcano before it closes and skip the crowds
- About 15 minutes after you start hiking, you reach the official boundary of the national park, where you pay your fee (for the park, not the guide). This is $3 per person
- They close the crater lake at the summit at 1:00 pm
- If you are departing the park by bus, it leaves between 1:00 pm – 1:30 pm, usually 1:15 pm is a safe bet so you have to keep an eye on the time at the summit and leave enough time to hike down (1 – 1.5 hours)
- The next bus is not until 4:00 pm

Arriving by bus
The majority of travellers will visit the Santa Ana Volcano by bus from the city of Santa Ana. It’s also possible to take this bus from Lago de Coatepeque if you choose to stay there instead of the city (we did).
BUS FROM SANTA ANA 🚌
- You must take bus #248 going to ‘Cerro Verde’ or ‘Volcan’
- This bus departs from the La Vencedora Terminal
- There are a few departures per day, but you must take the 7:30/7:40 am departure, as this is the only bus that will get you to the volcano on time to join the guided tour
- In reality, the bus will probably leave much later than this, but I’d suggest arriving at the terminal by 7:15 am to be sure!
- The trip should cost 70 cents, one-way
- The bus will drop you off at ‘El Tibet’ a restaurant near the trailhead, but the driver will shout volcan and let you know when to get off
- Expect the trip to take at least 2 hours, arriving at the trailhead between 9:30 am and 10:00 am
BUS FROM LAKE COATEPEQUE 🚌
It’s possible to connect with the #248 bus in the town of El Congo near Lake Coatepeque if you prefer to base yourself here instead of Santa Ana. This is what we did, staying at Captain Morgan Hostel.
- From Captain Morgan Hostel or any other lakeside accommodation on the west side of Lake Coatepeque, take bus #242 from out the front of the hostel
- It passes between 7:15 am – 7:30 am, so make sure you’re outside waiting early
- Get off in El Congo town, around this location
- You should have at least half an hour in town to grab breakfast or snacks for the hike
- The #248 bus from Santa Ana heading for the volcano will pass by this location around 8:30 am
- I would recommend sticking close to this area and watching closely from at least 8:15 am, just to be sure you don’t miss it
- You’ll know you are on the right bus, it will be full of gringoes in hiking gear
- We were also charged 70 cents, even though we got on later
- It should take at least 1 hour from here, arriving at the trailhead between 9:30 am and 10:00 am
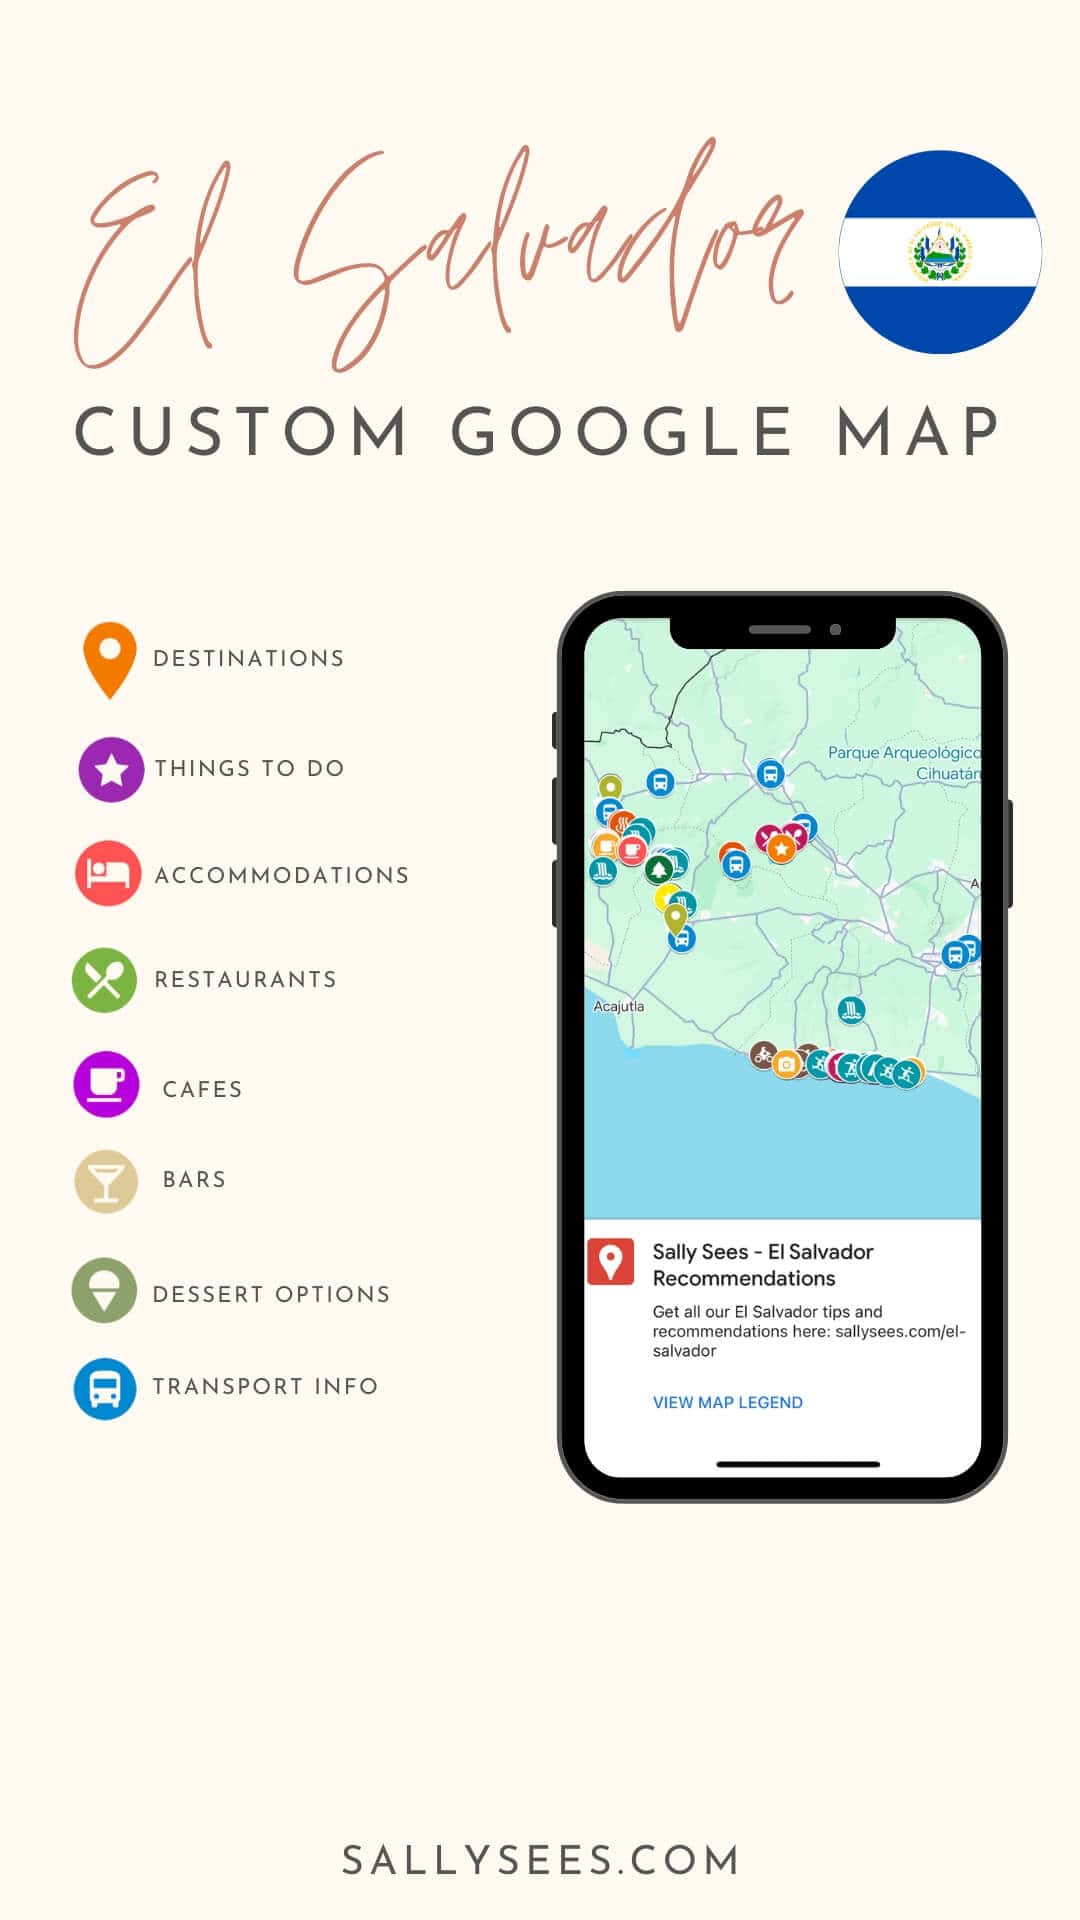
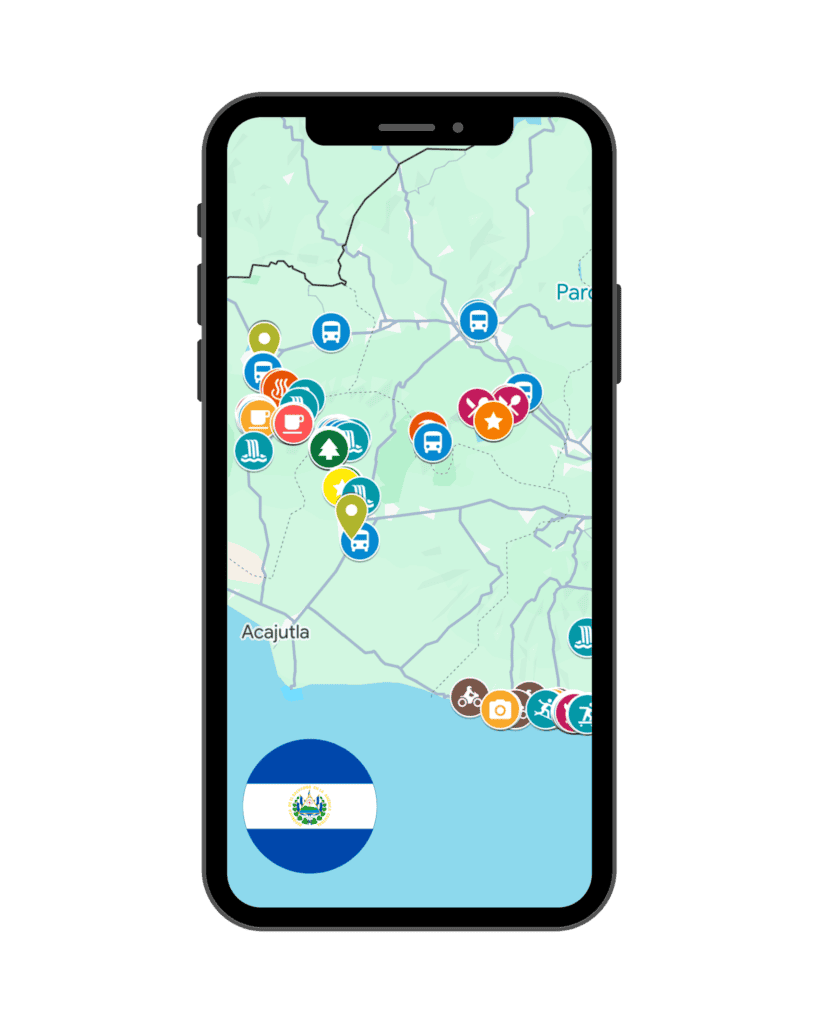
📍 All these bus locations are pinned in our custom El Salvador Google Map
JOINING THE GROUP HIKE 🥾
The official group hike that runs each day is basically planned around the bus from Santa Ana. This is how the largest group of tourists arrive, so the guides always wait for the bus.
If you come via bus, you still have the option of getting a private guide, but honestly, I don’t think it’s worth it. This is the busiest part of the day, so you can’t really avoid the crowds on the trail.
LEAVING THE PARK 👋🏼
On the way back, the bus departs from El Tibet at any time between 1:00 pm – 1:30 pm. You’ll see a lot of blogs say it leaves at 1:00 pm, but apparently these days it’s 1:30 pm to give people more time to get back down the trail. I’d bank on being there for 1:15 pm to be sure you don’t miss it.
We were still at the summit at 12:25 pm (that’s when my last photo was taken!), but managed to hoof it down pretty quickly, and as we emerged from the last section of foresty trail, we walked straight onto the waiting bus that was about to pull away! Close one.
The next bus is not until 4:00 pm, which leaves you a lot of time with not much to do in this section of the park. It also isn’t a direct bus to Santa Ana. It runs to El Congo, where you’ll need to switch to bus #59 back to Santa Ana.
Basically, try and make the 1:15 pm bus!
BUS FROM OTHER PARTS OF EL SALVADOR 🇸🇻
Technically you could use the bus to reach the Santa Ana Volcano from other areas in El Salvador, like San Salvador or the coast. You would need to get yourself to El Congo and then connect with the #248 bus when it passes.
However given there is only one bus per day, and it leaves around 8:30 am, I don’t think it would be feasible to do this as a day trip via bus from anywhere besides Santa Ana or the lake. It’s very unlikely you would be in El Congo on time.

Driving to the trailhead
If you’ve rented a car (or a scooter), you can drive yourself to the Santa Ana Volcano trailhead. Depending on where you’re coming from, the drive will take:
- Santa Ana: 1 hour
- Lake Coatepeque: 45 minutes
- San Salvador: 1 hour 15 minutes
- El Tunco/El Zonte/La Libertad: 2 hours
- Ruta de Las Flores (Juayua, Ataco): 1 hour 30 minutes
There is a parking lot at the trailhead that costs $3 per car.
The benefit of driving means that you can arrive earlier in the morning before the big group gets off the bus around 9:30 – 10:00 am. The park opens from 7:00 am.
However, you do run the risk that you might be the only person at the trailhead when you arrive, in which case you either have to pay for a private guide ($40) or wait for more people to arrive.
My understanding is that the guides need 15 people to run a ‘group’ hike at $4 per person. If you can find some other travellers to share with but not 15, you can pay the guide $40 for a ‘private’ hike and divide that cost amongst yourselves.
$4 vs $40 is quite a saving, but if you can pay say, $10 with only 3 other people, instead of the mass off the buses, I’d say that’s a win!
Most people seem to find at least another couple or solo traveller to share this with, and it’s not a prohibitively high cost anyway.
If you’ve got a car, you can take your time going up and at the summit with no pressure to get down for a bus.
You could also spend some more time in the park afterwards, and there are short trails to the extinct Volcan Cerro Verde which look worthwhile. I’d also recommend stopping at Lago de Coatepeque afterwards for lunch and a swim (in a crater lake that’s NOT full of sulphur!).

Taking an Uber, taxi or driver
If you’re not interested in hiking with a big group and you’re happy with the potential cost of $40 for a guide, then you can get an Uber, taxi or driver from Santa Ana to drop you at the trailhead in the morning before the bus arrives.
The process will work the same way as if you drive yourself.
Do note that if you take an Uber or a taxi, unless you pay the driver to wait for you (3 – 4 hours), you’ll probably need to take the bus back to Santa Ana. Remember the bus departs at around 1:15 pm, and make sure you leave yourself enough time to get back down.
Apparently, some people do have success ordering an Uber to return, but I wouldn’t count on it.
I think it would be tricky to organise a taxi or Uber to pick you up from one of the other, more distant destinations around El Salvador. The only way to get to the trailhead from places like El Tunco, San Salvador or the Ruta de las Flores would be to coordinate a private driver.
In which case, you should compare the costs of joining an organised tour that offers a comprehensive, all-inclusive experience.

Joining a tour
If you don’t want to mess around with public buses or big groups, but you haven’t rented a vehicle, you can join a tour.
Being such a popular tourist attraction in El Salvador, tours to hike the Santa Ana Volcano depart from all over the country. Most commonly from San Salvador and the Pacific Coast.
Although each tour varies slightly, you can expect to have pick up from your accommodation, transport to and from the trailhead, entrance fees to the national park and a guided hike up the volcano.
Most tours also include some time at Lago de Coatepeque after the hike, either a brief stop at a lookout, lunch at one of the restaurants around the lake or even time to swim and enjoy the lake before returning to your point of origin.
This is, of course, the most expensive way to experience the Santa Ana Volcano hike, but you’ll avoid hiking with a large group and don’t need to worry about transport.
My recommended tour if you’re staying in San Salvador or the Pacific Coast! 🌋
Santa Ana Volcano Hiking + Panoramic View of Lake Coatepeque from San Salvador or Pacific Coast
This highly-rated tour includes pick-up from either San Salvador or the Pacific Coast (La Libertad, El Tunco etc.). You’ll beat the crowds by hiking in a small group with your dedicated guide. After the hike, you’ll stop at a restaurant for lunch with a panoramic view over Lake Coatepeque, before being driven back to your accommodation.
Santa Ana Volcano hike overview
Once you’ve arrived at the trailhead and organised your guide, you’ll start the hike!
If you’re of average fitness with some hiking experience, you’ll find the hike moderately challenging at times, but nothing too strenuous.
People of all ages do this hike every day, but if you’re not very fit, you will find it challenging. It’s an almost constant slow incline, with some very steep sections.
Here’s what you can expect.
Part 1: Trailhead to the national park entrance
The first part of the hike is getting to the official national park entrance.
Where you park your car or get dropped off on the bus at ‘El Tibet’ is not actually inside the park. There are two ways to reach the official entrance.
The first is up a paved road. If you’ve come via taxi, tour or private driver, they might even drive you up this if you’re lucky. Some people walked this way.
The second, which is where most guides will lead you, is via a nice, forested trail.
The incline starts straight away, but it’s not too steep at this point and it’s cool in the shade of the forest. It took us about 15 minutes to get to the ticket office.
It’s at this point that you’ll pay for your entrance to the national park ($3) and get a ticket.
There are some basic toilets here, which is your last chance for a bathroom for the rest of the hike (BYO toilet paper). There are also a couple of small stalls selling water and snacks if you need some extra fuel for the hike.
Once everyone in your group has paid for their entry, you will pass through a checkpoint, showing your ticket and starting the official trail.

Part 2: Park entrance to lookout tower
The first section of the trail continues through dense forest on a dirt path. It’s not too steep or challenging at this point.
You’ll reach the first landmark within 15 minutes, a three-storey lookout tower. You can climb up for your first taste of the epic views, out to Lago de Coatepeque and neighbouring Volcan Izalco.
Some people skip the tower and save it for the way down. If you’re taking the bus back, don’t skip it as you’re most likely going to be rushing down the volcano to make sure you don’t miss the bus.


Part 3: Lookout tower to mirador
The trail continues through the forest for a while. It’s always inclining, but it’s not super steep.
After a while the vegetation starts to thin out, and the trail gets a bit rockier.
You realise you’re on the slope of a volcano, and the views open up out to the side, and you get an ever better angle of the perfectly conical Volcan Izalco.
It started getting steeper at this point, and I noticed I was slowing down a little. But I was so busy chatting with other travellers and swapping notes for the next stages of our trip through Central America, that I wasn’t too tired.
Your next landmark is a wooden viewing platform, aka the mirador. It took us about half an hour to get here from the lookout tower.
It clogs up a little here as everyone wants to get their photo taken with a perfect view of the volcano behind them. We took it as a chance to have a drinks break and eat the snacks we had brought.

Part 4: Mirador to the summit
The final stretch from the mirador to the summit is the toughest part of the Santa Ana Volcano hike. You’re walking on loose volcanic rock, through a series of steep switchbacks.
Our large group was completely spread out at this point, and the guides let everyone go at the pace they wanted to.
A lot of people were struggling at this point, and huffing and puffing as the air gets a bit thinner at this altitude. The rocks can be really slippery, and we saw a few people slip over and end up with some nasty cuts.
It’s all worth it though, and anytime you’re struggling, just turn around and admire the insane view you’ve got behind you! You’ll start getting whiffs of the strong, sulphur rotten egg smell and know you’re close.

It took us around half an hour to get from the mirador to the summit. This sign is the first thing you’ll see, letting you know you’ve made it.
Oh, and the guy selling paletas (popsicles)! Only in Latin America will you find an ice cream at the top of a volcano. It’s a couple of bucks for a well-deserved treat after making it up the hill! Maracuya (passionfruit) was delicious.


Part 5: The summit
As soon as you crest over the ridge at the summit, it gets incredibly windy so make sure you’ve got a jacket to put on.
Once you reach the ridge, you can peek over the edge of the crater and get your first glimpse at the incredible crater lake.
The colour of the sulphur-filled water is mind-blowing. The turquoise colour is so bright and vibrant that it looks radioactive! We had never seen anything like it.

You’re allowed to stay on the summit for half an hour, and we lapped up every second taking photos and admiring the lake. If you happen to start the hike later with a private guide, remember they will start herding you off the summit by 1:00 pm.
There is no boundary around the edge of the crater, so it’s assumed you won’t attempt to climb down towards the very toxic sulphur lake (if you want to swim in geothermal waters, check out Salto de Malacatiupan, a hot springs waterfall in the north of the country). But do be careful around the edge as the rock is loose and slippery.

The walls of the crater are made up of a rainbow of different coloured rocks. The patterns were incredible, and the sheer depth of the crater was mindblowing.


We could see plumes in the rock where gases were flying out, it was like we were watching a science experiment in action! The smell of sulphur is super strong.

The view the other way is just as amazing. Don’t forget to turn around and admire Lake Coatepeque and Volcan Izalco.

Part 6: Descending the volcano
I wish we could have spent longer at the summit, the lake was so captivating and we weren’t quite ready to leave. But the guides reminded us that we needed to get a move on if we wanted to make the bus at 1:15 pm.
The guides let you go down solo, as you return via the same trail you came up on.
We had to move pretty quickly to get down and managed to do it in around 45 minutes. If you’re part of a private tour or got to the summit a little earlier than we did, you can take your time.
It is tricky going down, especially the section nearest the summit. The loose slippery rock is even tougher to navigate on the way down, and both Brayden and I had a few mini stacks!

Why you need a guide to hike the Santa Ana Volcano
It is mandatory to hike the Santa Ana Volcano with a guide. That is the rules of the park.
I don’t know the exact reasons for this rule, possibly to preserve the environment and ensure no one is going off trail or getting too close to the crater lake.
Or possibly for tourist safety, as you will also see armed police and military on the trail keeping an eye on everything. Historically the trail wasn’t very safe with robberies and unsavoury characters, but these processes have stamped that out.
The requirement for a guide has become a bit of a touchy topic and many travellers get very angry that they have to hike with a guide.
I understand where they’re coming from, as the trail is not very technical or difficult to follow. You don’t really need a guide to successfully hike and make it to the summit.
But as visitors, we need to respect the way things are done in other countries, and if the rule is to hike with a guide, then you have to hike with a guide, even if you don’t feel like you need one.
We saw way too many white gringoes making a scene, shouting that it was ‘their right’ to hike independently, saying the guides are scammers just trying to make money and generally looking like absolute spoilt brats. It made me feel embarrassed to be a white female when three white European girls were arguing and swearing at the park staff when they were told they needed a guide.
The guides are official and employed by the park. They are mostly local tourism students who split the cost of the guided tour amongst themselves for income.
The cost for the shared tour is $4 per person, it’s hardly a rip-off. If you want to hike Volcan Mombacho in Nicaragua you’re up for at least 10 times this cost for a mandatory guide!
I don’t like hiking with a guide either. I didn’t particularly want to follow a group of 50 + people up the trail, and not be able to walk at my own pace, but it is what it is. It’s not our country to complain about the rules.
Plus, I know how beneficial tourist dollars can be to the local economy and society. By paying for a guide, you’re helping to employ a group of locals, who are incredibly knowledgeable about the volcano and the flora and fauna you’ll see.
So instead of grumbling about having to go with a guide, think about how incredibly lucky we are to be in another country, hiking an active volcano. And what a positive impact our $4 is making on people who have a lot less than most of us do.

GET OUR EL SALVADOR GOOGLE MAP
Save hours with our FREE custom El Salvador Google Map!
Get 150+ locations pinned, giving you our best tips and recommendations in your pocket.
What to wear
Wear comfortable hiking clothes, with layers.
You’ll be hot and sweaty when you’re on the exposed sections of the trail going uphill, but it’s windy and cold at the summit, so you’ll need a jacket.
If you have hiking boots, they would be the best shoes as the rock is very loose and slippery, but runners or trainers are also fine. We both wore runners and were comfortable, but we did slip a few times.
What to bring
- 🧥 Jacket – for the summit
- 😎 Sunglasses, hat, sunscreen – parts of the trail are exposed
- 💦 Water – at least 1 litre per person, more if you drink a lot
- 🥢 Trekking poles – if you’re worried about the hike it can’t hurt to have poles for some stability on the loose rock near the summit, we use these ones
- 🍌 Snacks – snacks are always a good reward on the way up
- 💰 Cash – for the guide, entry and a paleta
- 📸 Phone or camera – to capture the epic scenery
Santa Ana Volcano hike: Final thoughts
We absolutely loved the Santa Ana Volcano hike, and it was one of our favourite days in El Salvador.
It was the perfect balance of challenging and rewarding, and looking down at that crater lake was seriously mind-blowing. It’s like looking into the core of the earth and we were both absolutely speechless.
The whole process did feel unnecessarily confusing, and even after we finished hiking, we still felt uncertain about what the official guide/tour system was.
I hope this post has helped unpack and explain it a bit better, and that you’re feeling prepared to hike Volcan Ilamatepec!
I’ll endeavour to keep this post updated and as accurate as possible, but if you experience anything different on the trail, please share in the comments to help fellow travellers.
MORE SANTA ANA REGION POSTS


The Comments
Blue
We just did the hike today. Your information is a bit incomplete. The key idea is to go to the Oficina de Medio Ambiente (Environmental Office), located on Google Maps, which is the actual Santa Ana Vulcano park entrance and where you’ll pay a $3 entry fee with armed police present. Free official government guides offer hourly tours from 9-11 AM and are knowledgeable, so you don’t need private guides. Strong morning winds might shorten the hike to a viewpoint, potentially preventing you from reaching the lagoon, though the price remains the same. Skip the Cerro Verde route if you want a direct path to the volcano, as it adds an hour to your round trip and involves hiking up and down stairs.
Sally Rodrick
BlueThanks for the update Blue. So there weren’t any guides on the roadside where the bus drops off? When we visited there was a group there, and they were ‘government verified’ at the very least. We were more than happy to pay the small fee for their time, but you’re saying there are guides directly at the office now, a little further up the trail away from the main road? Thanks for the info! Much appreciated and hope you enjoyed the hike.
theresa
Thank you for the valuable information to make our trip spectacular.
Sally Rodrick
theresaThanks for your kind words Theresa, I hope it helps! ☺️ Enjoy the hike, the volcano and lake are stunning!
Louise
I am visiting next year! Concerned that it might be a difficult climb. This is very detailed which is a great help. Thank you so much. In total how long will the climb take plrase I am snail pace!
Sally Rodrick
LouiseHi Louise, it’s honestly not THAT hard! Yes, there are steep sections, but it’s not overly long. You’ll be okay! If you’re really concerned about speed, I’d fork out a bit extra for a private guide so you’re not stressing about your pace. I think from memory it was about $35. I think all up it took us 3 hours (heading off around 10am with a bit of faff for tickets etc. and then we raced down and jumped on the 1-1:30pm bus that passed at 1:15pm). I would highly recommend pushing yourself a little bit out of your comfort zone, it’s totally worth it and it’s not impossibly hard (but yes, you’ll be huffing and puffing up the hill, I was!). All the best, Sally
Paloma
Hi Sally, thanks so much for your article. I appreciate the step by step and all the pictures. Honestly it’s the most descriptive info I’ve been able to find on hiking this volcano! I’m planning to go in a week with my husband, his parents, and my 2 young children. You mentioned it’s not too hard. We’re all in good shape and my husband and I are experienced hikers, but this will be the first time we take both our kids. We’ve hiked the Alps with our son when he was 2. This time, I plan to carry my 1 year old daughter in a hiking backpack and my husband will take our 4 year old in a sling when he tires on the most challenging parts on the way up. My son will walk the rest of the time. Do you think this is doable?
Sally Rodrick
PalomaHi Paloma, so glad my blog was helpful 🙂 It’s hard for me to say what is / isn’t difficult in terms of hiking, but I’d say given your experience you should be fine. The only thing that might be a bit tricky is that the trail can get a bit crowded and congested. However given you guys are quite a large group, it might be more cost effective to get a private guide so you have a bit more space and go can go at your own pace. That said, the guides on the ‘group’ hike will allow you to hang back and spread out too. Enjoy it, the crater is so amazing! All the best, Sally
Liz
Thanks for the info. We found your blog very helpful. We hiked this on a Saturday and early January and wanted to share a few updates. We were very confused by parking and ended up being directed to the camping area that is just past the start of the hike. The sign had Crystal in the name. We paid $1.25 per person to park. There were some busses dropping off here as well. We formed a group from this location but I think it’s better to do at the tourist office where you start the hike because we had to wait a long time for a guide. We were told $5 per person and $50 for a private guide. However, there were no private guides available. So if you want to go that route it may be best to book one in advance (which is what several people did who we spoke with). It was crazy busy due to the Christmas holidays and the guides pretty much gave up on tracking the groups and it turned into a free for all. The hike down was pretty much just one big line of people all trying to pass each other. Still a worthwhile experience.
Sally Rodrick
LizHi Liz, thanks so much for the updates! By all accounts it looks like the hike is getting seriously busy, especially around the holidays. It’s hard to know if your experience was how it’s always supposed to go, or just a result of huge crowds and probably a lack of guides over the holidays too. I’m glad you managed to navigate the chaos and I hope you got a great view of the crater at the top! I agree – if you’re not restricted to the bus times, it’s probably best just to pre-book a tour from another area that comes with your guide so you don’t have to work out logistics on the spot. Enjoy the rest of your trip and thanks again for sharing. All the best, Sally
Mollie
Does anyone know how to book a private guide tour, are they just at the trailhead? We would like to get an earlier start then 11am, it’s going to be hot, we are hoping to go on April 14th. Let me know if you have any ideas on this.
Thank you!
Sally Rodrick
MollieHi Mollie, you can pre-book a tour online via sites like Viator (I’ve linked a couple of options depending on where you are coming from), otherwise I think you should find a guide at the trailhead. They are usually hanging around and are ready to take any travellers/groups that are willing to pay the full fee. Good luck, let me know how you go 🙂 Sally
Hector
This was beyond helpful, thank you so much for this! Also the pics you took are incredible!!! The quality wow!
Sally Rodrick
HectorThanks so much for your kind words Hector, it means a lot! I’m so glad the post was helpful, enjoy the hike, the views are amazing! Sally
Ania
Is it suitable for kids ?
Sally Rodrick
AniaHi Ania, I have no idea how fit and able your kids are to hike. We didn’t find the hike overly strenuous but it’s definitely an uphill trail the entire way up that gets quite steep at the end. I don’t see why the experience wouldn’t be suitable for kids if they are able to walk that far, but I don’t have kids so I can’t really say, sorry! Enjoy El Salvador, Sally